A spicy combination of tuna and Sriracha sauce. An easy, filling snack/meal that gives you a zing and fills you up! You can make a batch of these for yourself, or serve them to guests. They even make a great addition to a potluck!
These are really awesome and really easy to make! You need to be able to open a can of tuna, chop a few veggies, and use the oven.
Here’s what you need to make Spicy Tuna Pinwheels:
- 1 can of tuna
- A bottle of Sriracha sauce (you’ll need enough for about 12 pretty good squirts)
- 2 good spoonfuls of mayonnaise
- A small spoonful of crushed red chili pepper flakes
- 1/4 of a green pepper
- 1/8 of a red onion
- 1/2 a fresh jalapeno (include the seeds if you like it really spicy!)
- 1 10″ tortilla wrap
- A good chunk of cheddar cheese
Here’s how to make them:
1. Open the can of tuna and drain out the juicy stuff. Put the tuna in a bowl.

Tuna in a bowl
2. Put a few good squirts of Sriracha sauce n with the tuna.

Yum!
3. Spoon in a couple of spoonfuls of mayonnaise.
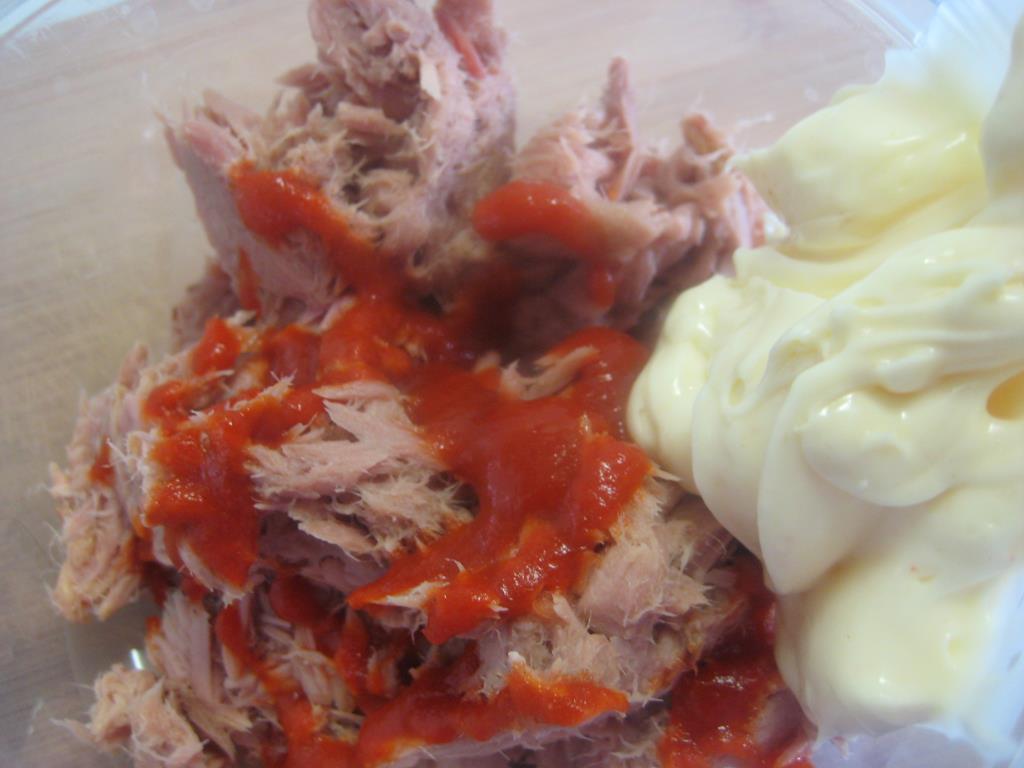
Mayo
4. Stir it up. For extra heat, add a small spoonful of crushed red chili pepper flakes.

Taking it to the next level\
5, Dice the green pepper into small dices and add it to the mixture.

Small-diced green pepper added
6. Dice some red onion into small dices and add it in.
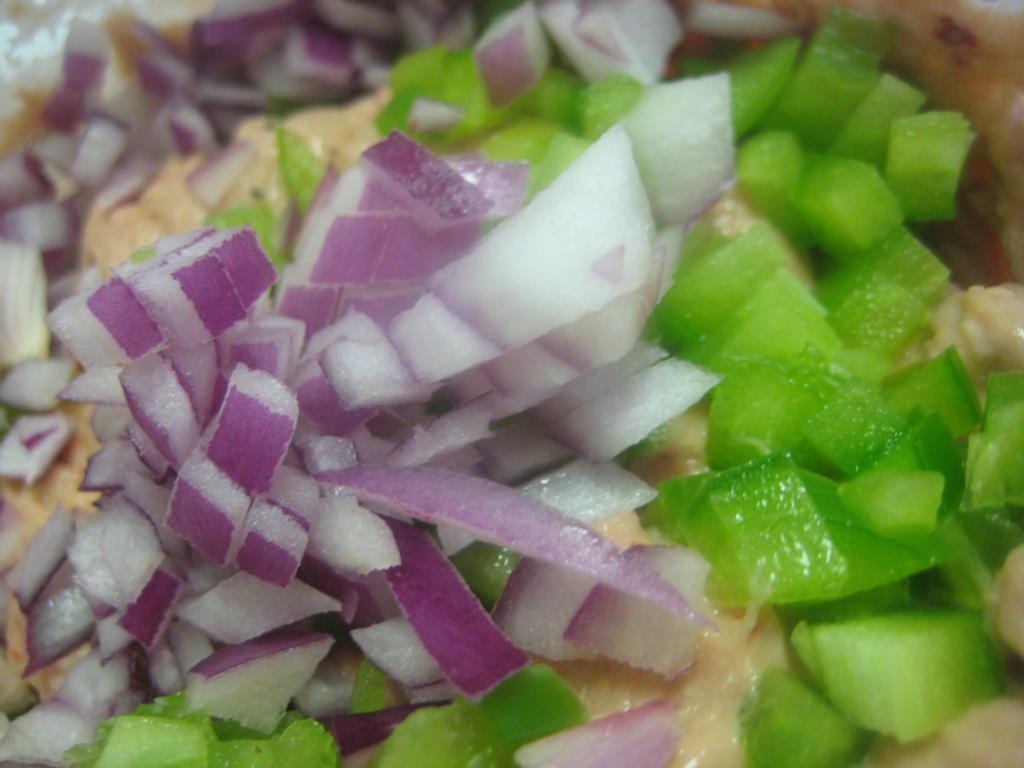
Adding red onion
7. Dice up the jalapeno into small pieces and add it into the mixture.
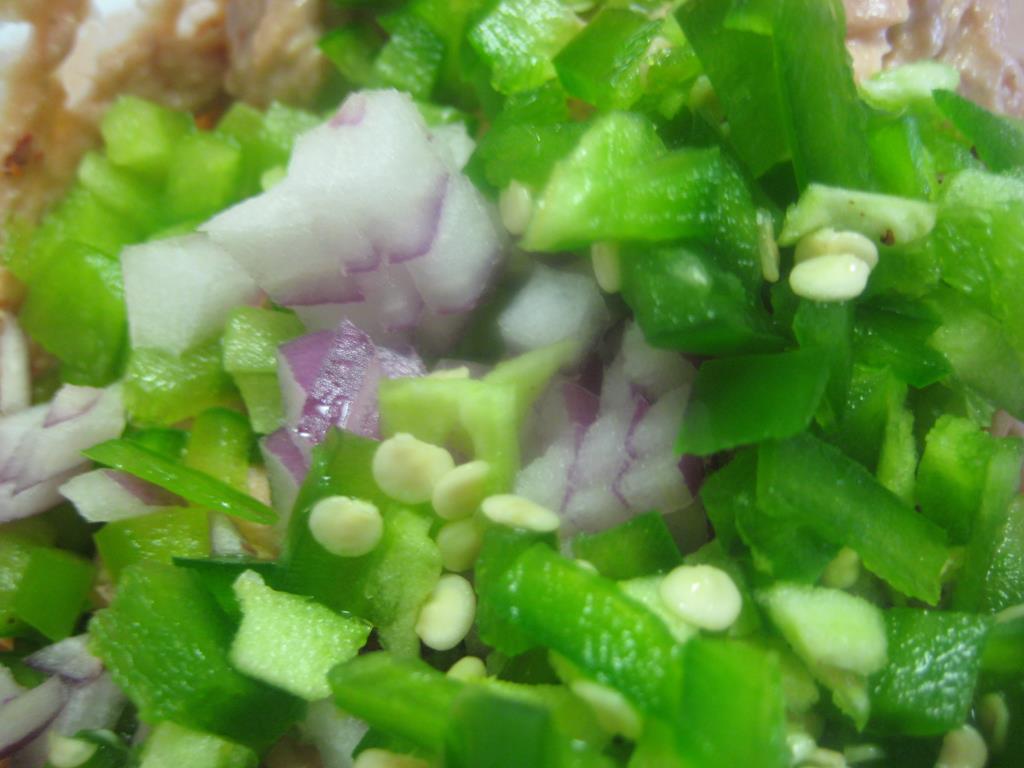
Hot!
8. Stir it all up until it looks fabulous.
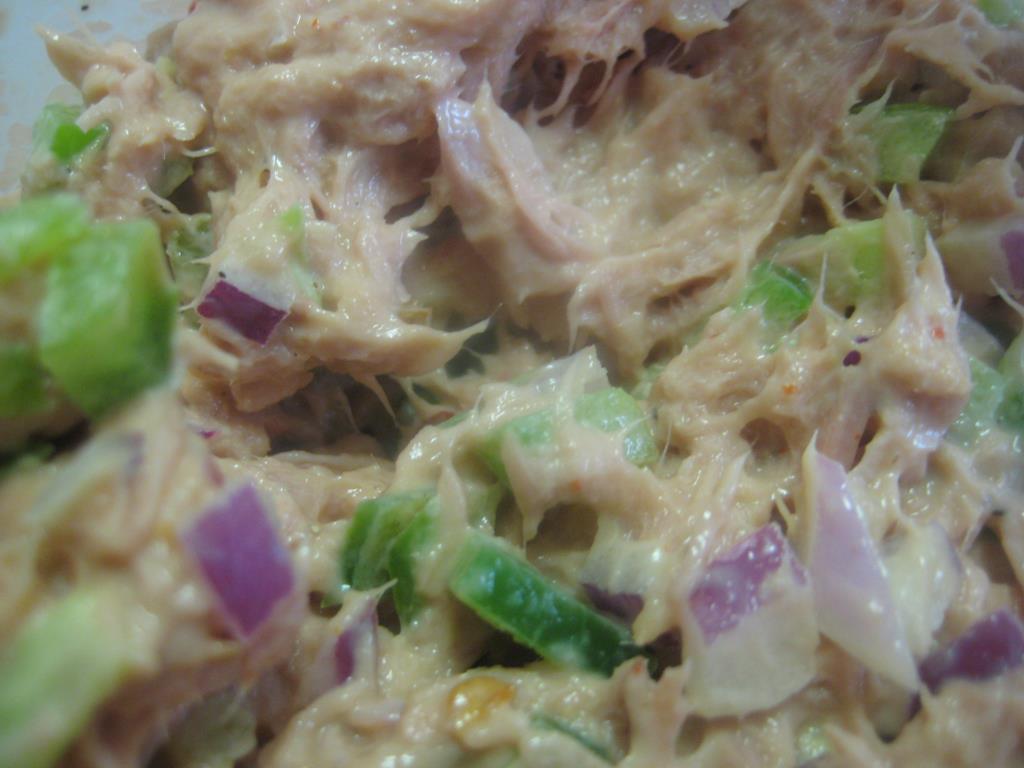
It looks fabulous
9. Take the tortilla wrap and put it on a plate. Then heat it in the microwave for ten seconds. Then put it down on the counter top or a cutting board.

Warmed-up tortilla
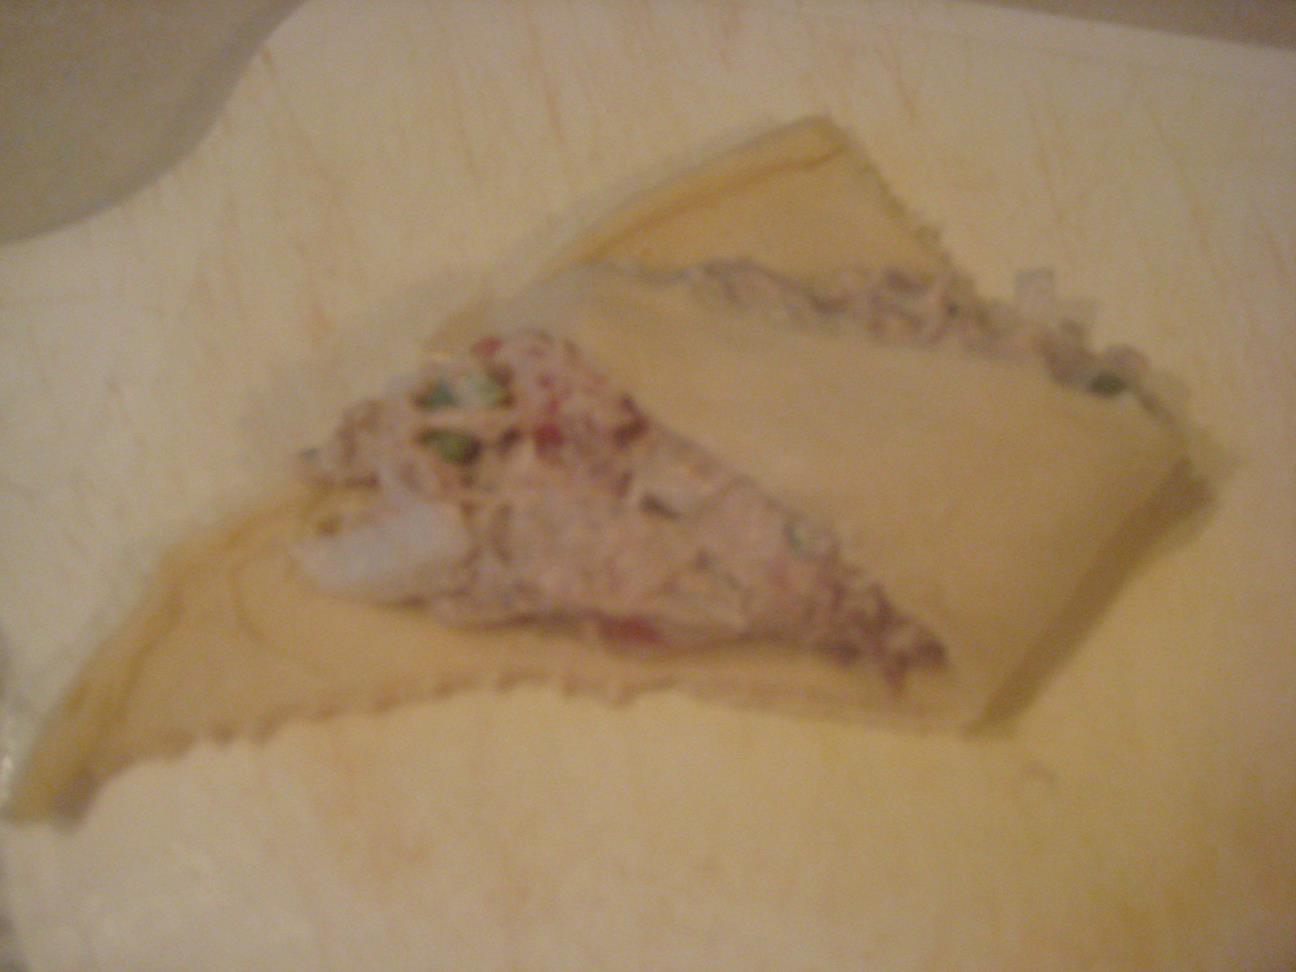
10. Spoon the tuna mixture onto the wrap and then flatten it down with a fork. Make sure it’s spread around evenly. Leave about one inch bare on one side of the tortilla.

Spread out and flattened, leaving one inch bare
11. Starting from the edge opposite of the bare part, start rolling the tortilla up, end to end, so it meets up with the bare part.

Rolling up from opposite the bare edge so that it’s rolling to meet up with the bare edge
12. Roll it all the way and then give it a little squeeze to help it stay together a bit.
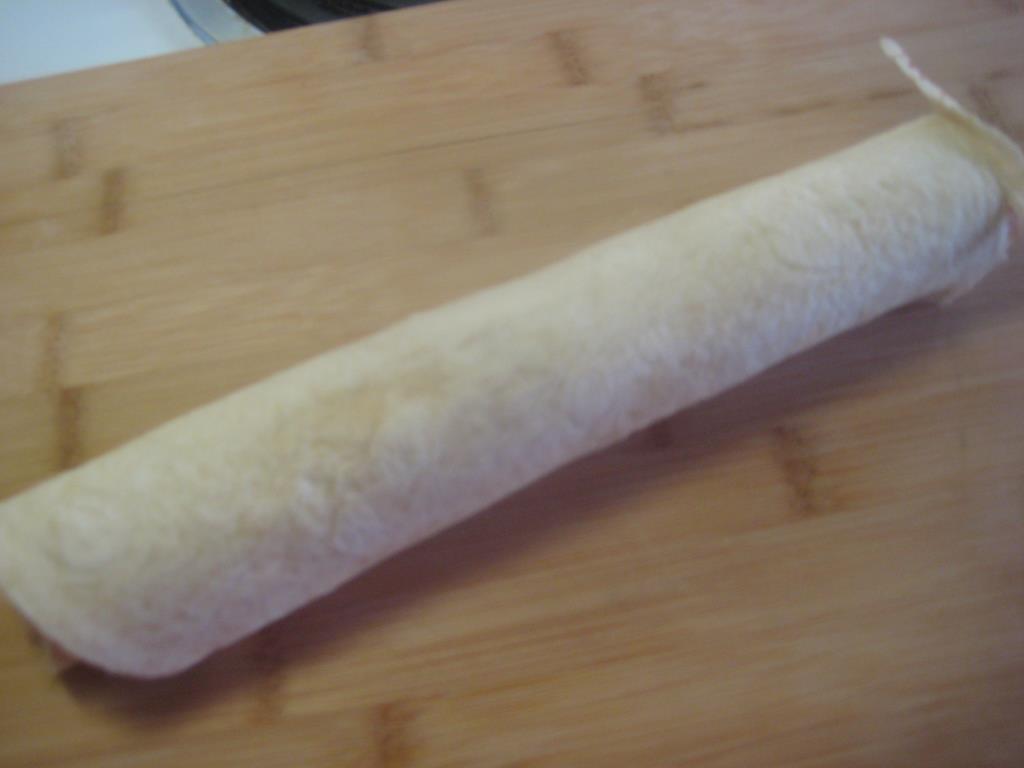
All rolled up
13. Use a knife to cut the roll into slices. It’s best to cut on a diagonal.
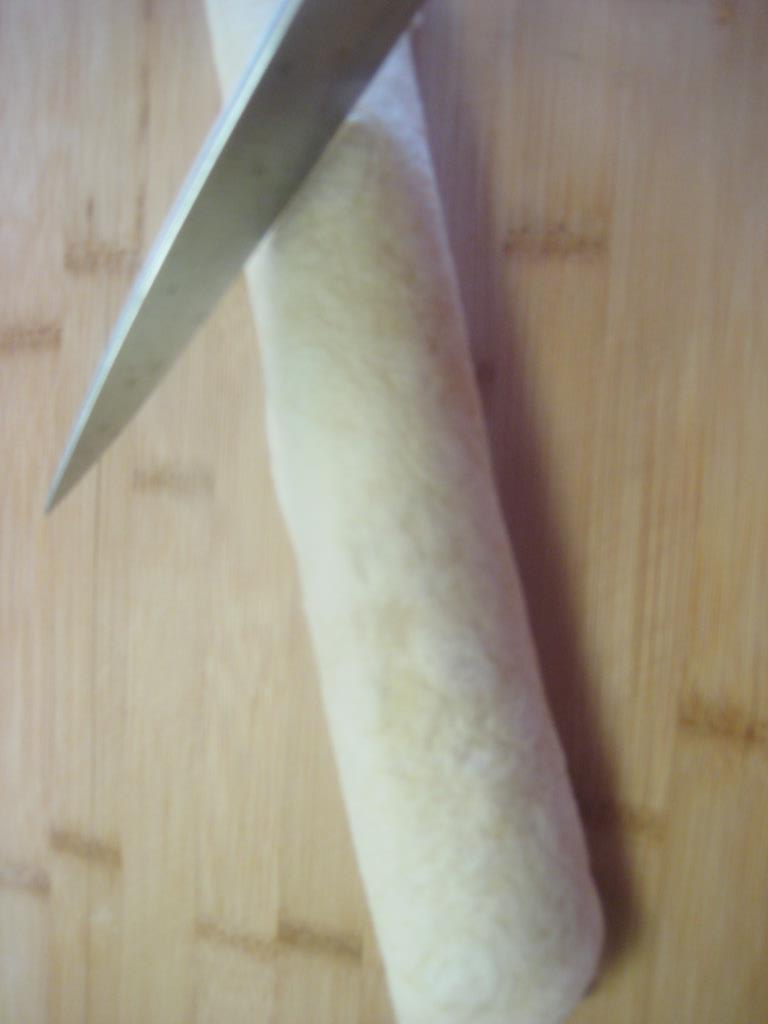
Cutting the roll into slices on an angle
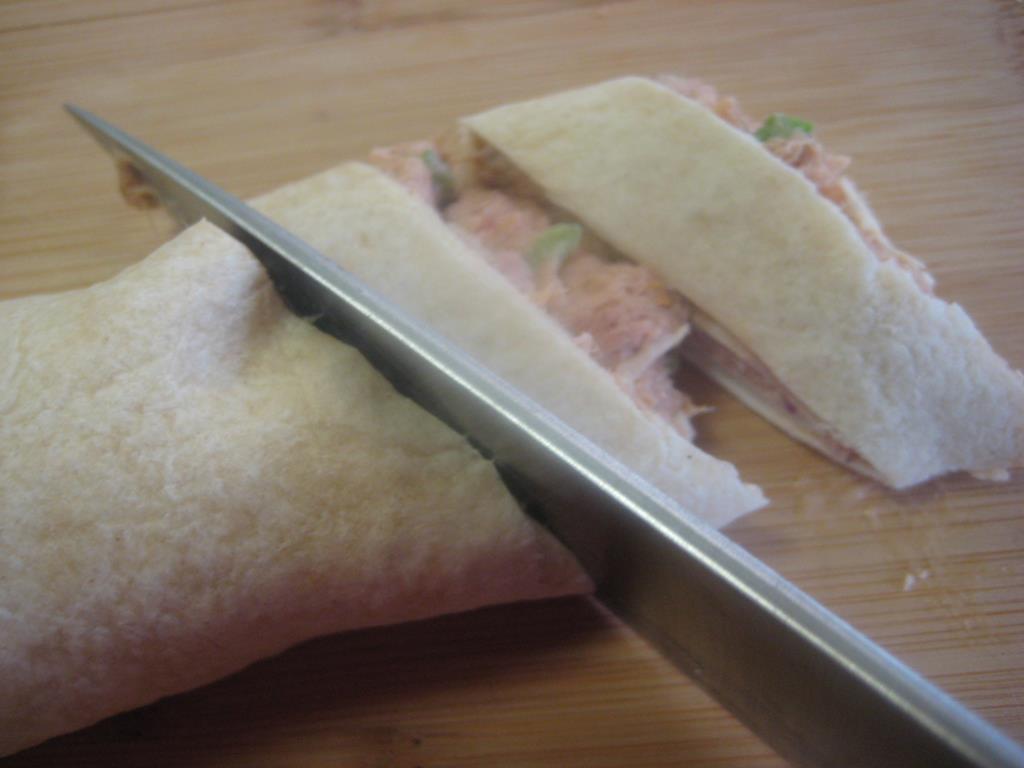
Cutting the roll into slices on an angle

A sliced-up bit
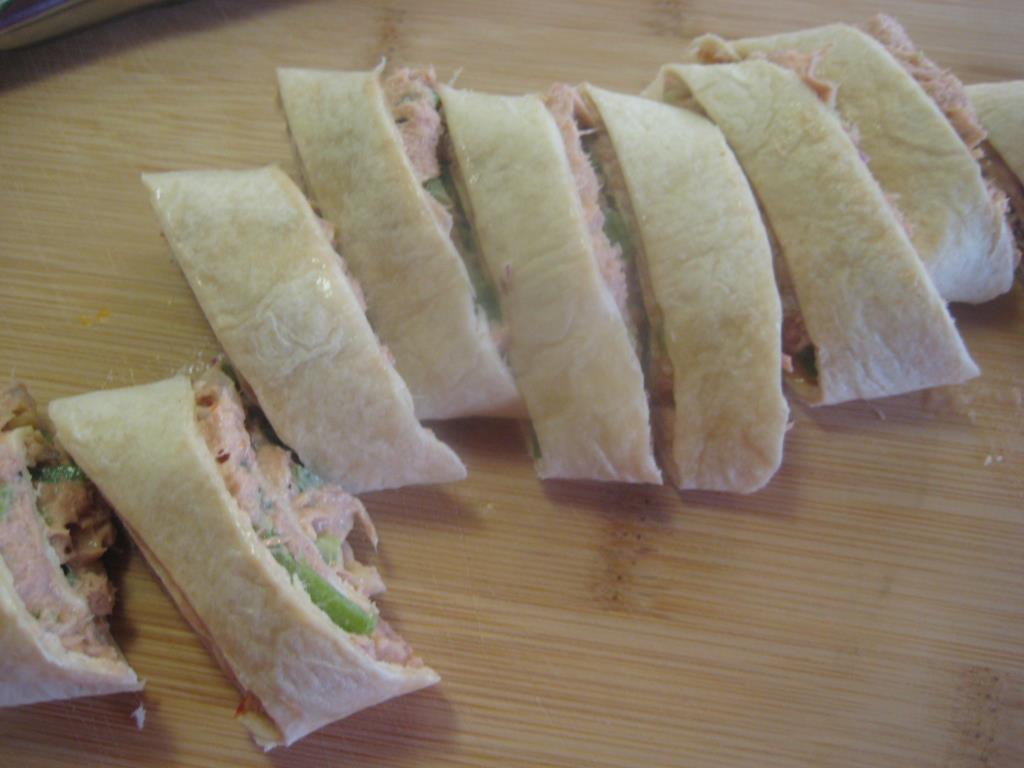
A bunch of sliced-up bits
14. Turn on the oven to 375 degrees.
15. Lay all of the tuna bits on a cookie sheet that you’ve already sprayed with non-stick cooking spray.
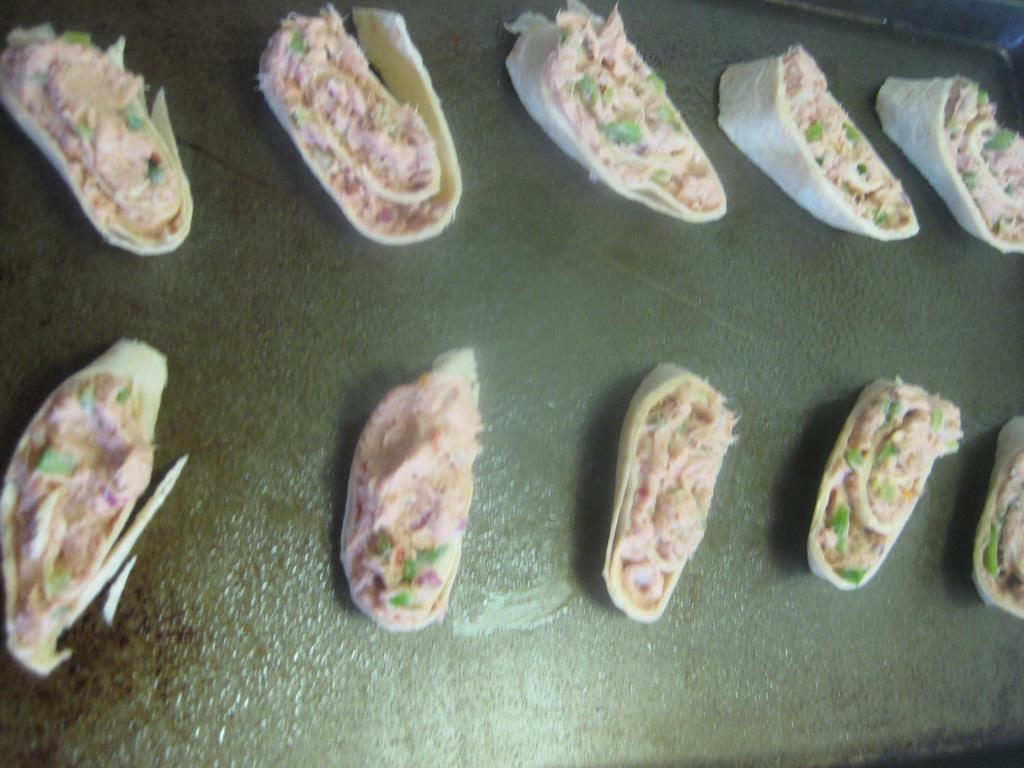
All layed out on a cookie sheet
16. Cover each bit with a zigzag squirt of Sriracha sauce.

Zigzagged with Sriracha Sauce

Whoa baby!
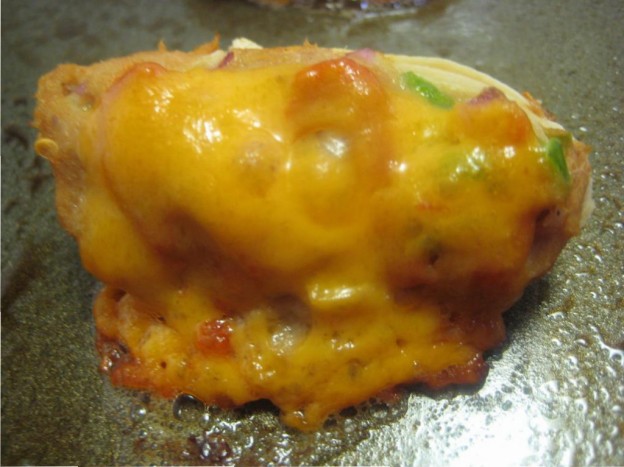
17. Top each piece with a nice slice of cheddar cheese.
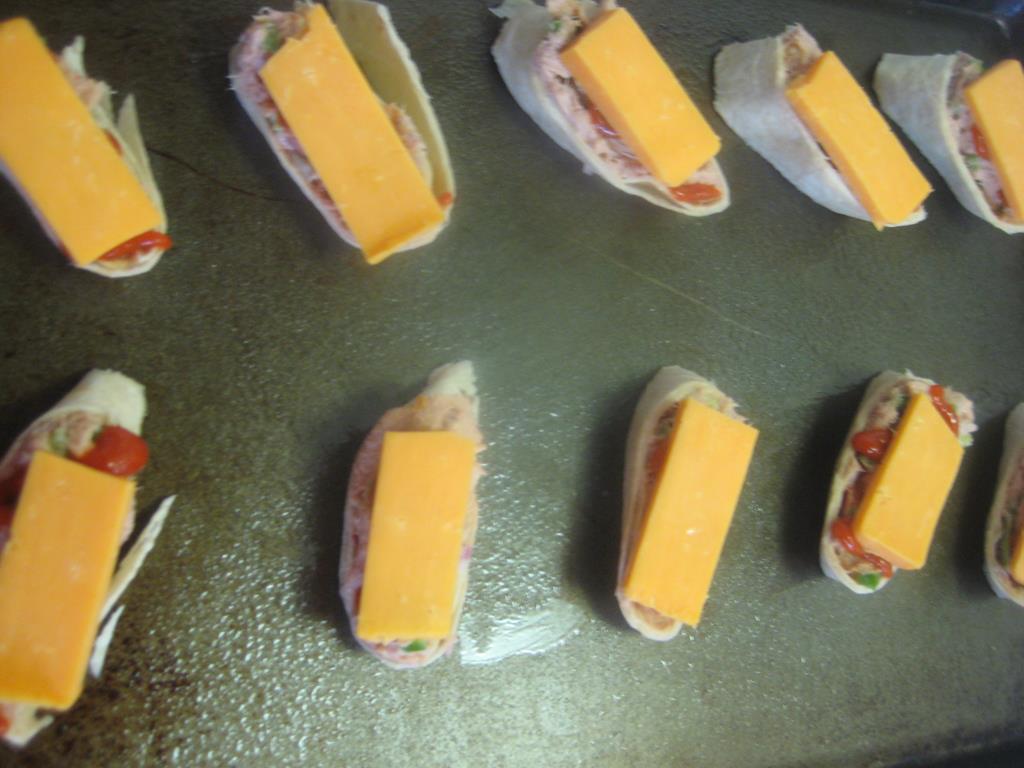
Topped witch cheese
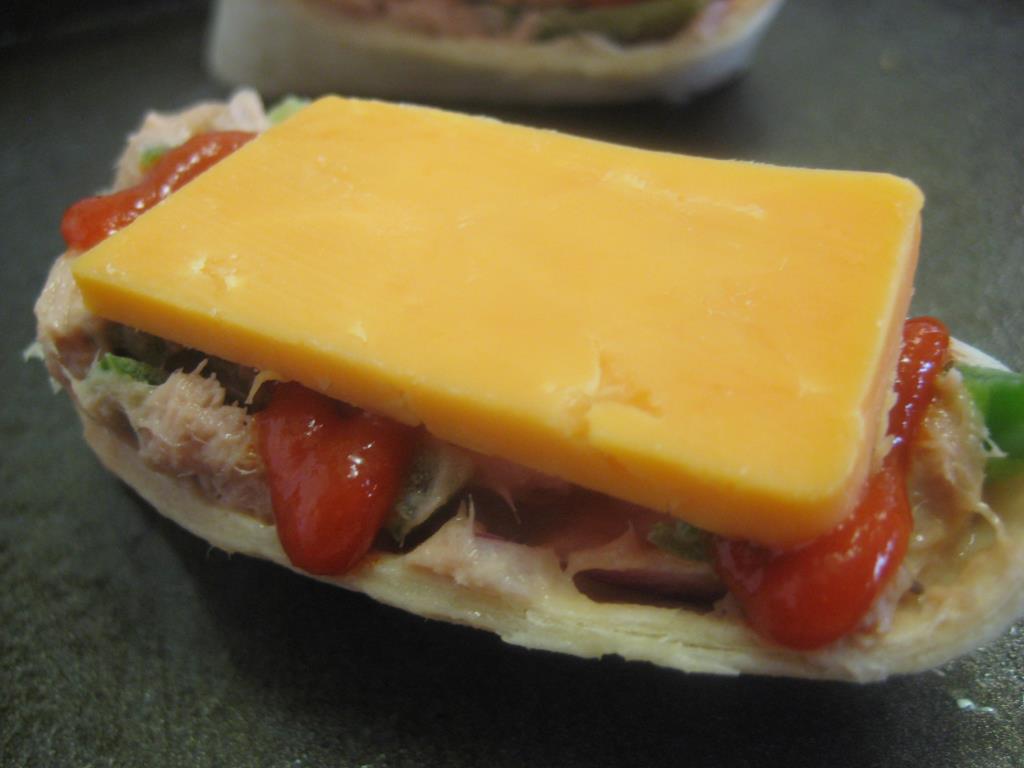
It’s like a little piece of perfection
18. Cook them until the cheese is deliciously melted. It’s usually from ten to fifteen minutes.
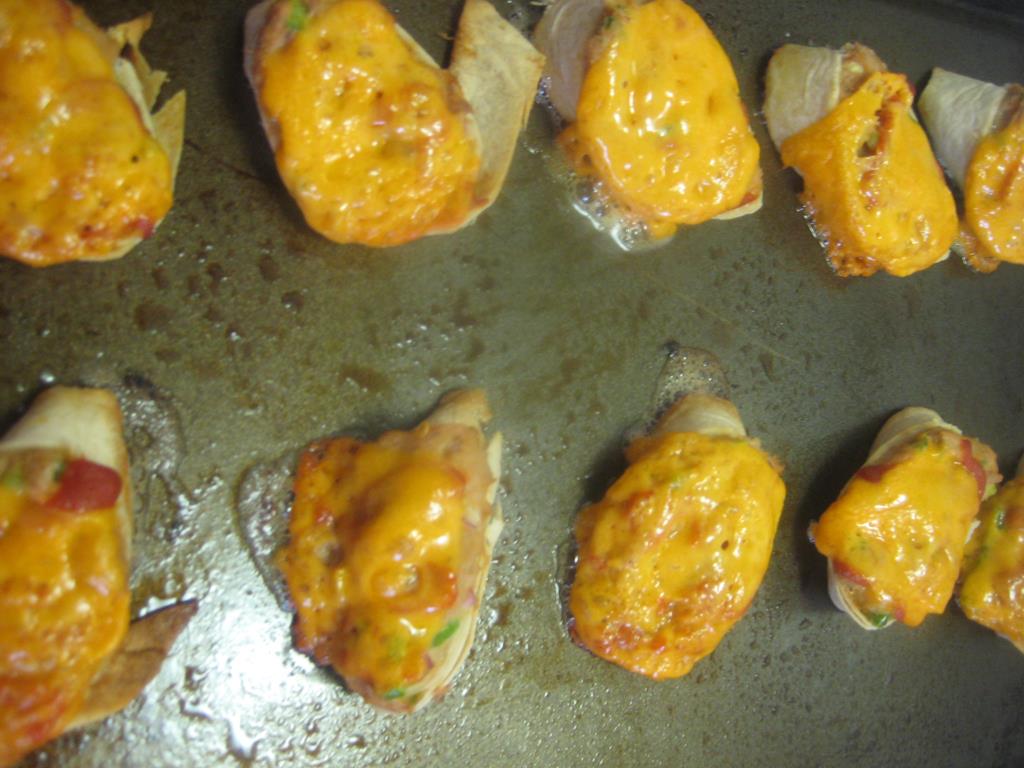
A tray full of awesomeness

A Spicy Tuna Pinwheel ready to eat!
19. Let them sit for about four minutes on the baking sheet and then use a spatula to transfer them to a plate. You should let them rest for another few minutes before you devour them – they will be hot and gooey!

Cheesy. Melty. Gooey.
Here’s what it costs to make Spicy Tunarachas (about twelve amazing pieces):
- Can of tuna: $1.00
- Sriracha sauce: $0.20
- Mayonnaise: $0.20
- Crushed red chili pepper flakes: $0.03
- Green pepper: $0.25
- Red onion: $0.10
- Jalapeno: $0.06
- Tortilla wrap: $0.45
- Cheddar cheese: $0.85
Total cost to make: $3.14
Enjoy. These are fabulous, easy, and healthy!
Need some other awesome finger food ideas? Try one of these: