These are a potluck sensation! They are easy to make but they are time-consuming. If you want to impress people at a potluck and you have some time on your hands to carry this out, do it. I split the work up between two nights so it’s not as bad. Slammin’ Clams will be the shining star of your potluck! And there’s a bonus for you at the end!!
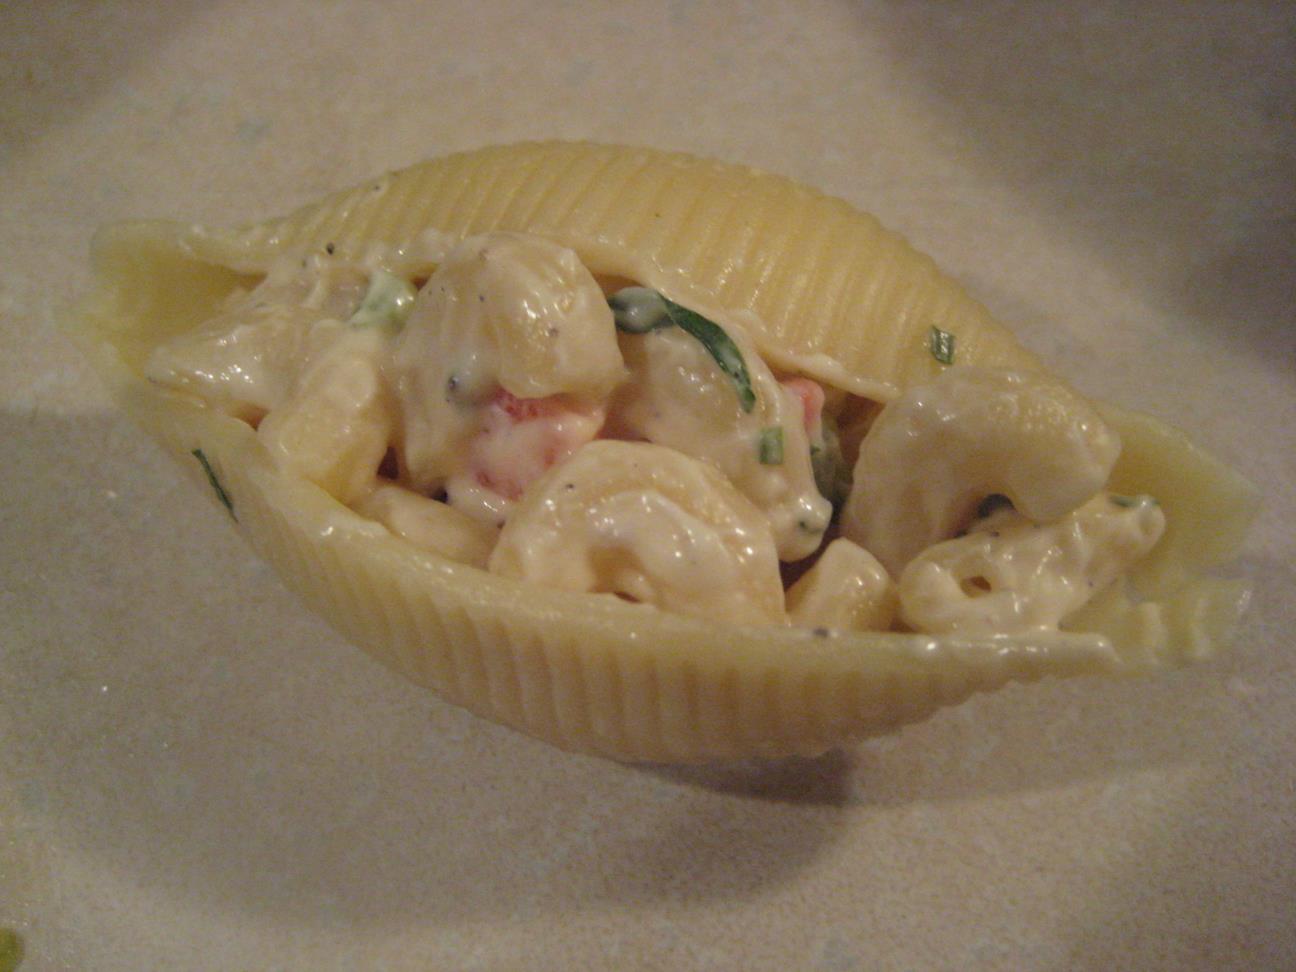
Basically Slammin’ Clams are giant clamshell pasta pieces stuffed with delicious macaroni salad. Why, you ask? So that we can turn macaroni salad into an easy-to-eat finger food!
These fun little finger-foods are vegetarian and can be gluten-free if you can find gluten-free macaroni and giant shell pasta.
For this recipe, you need to cook 2 different types of pasta, cut some veggies, stir things up, and be patient enough to stuff one kind of pasta with another kind. It’s not so hard as it is time-consuming. But it’s cheap!
Here’s what you need to make your Slammin’ Clams:
- 1 package of giant shell pasta
- 1 package of elbow macaroni
- about half a jar of mayonnaise (2 cups or so)
- a bundle of fresh basil
- fresh cracked black pepper
- 1 green pepper
- 1 red pepper
- 3 roma tomatoes
- 1 package of grape tomatoes
Here’s how to make them:
I break this recipe down into two nights’ worth of prep. Trust me, it’s better that way. So put on the music, or throw on a good tv show, and get ready to spend some time in the kitchen.
Night #1:
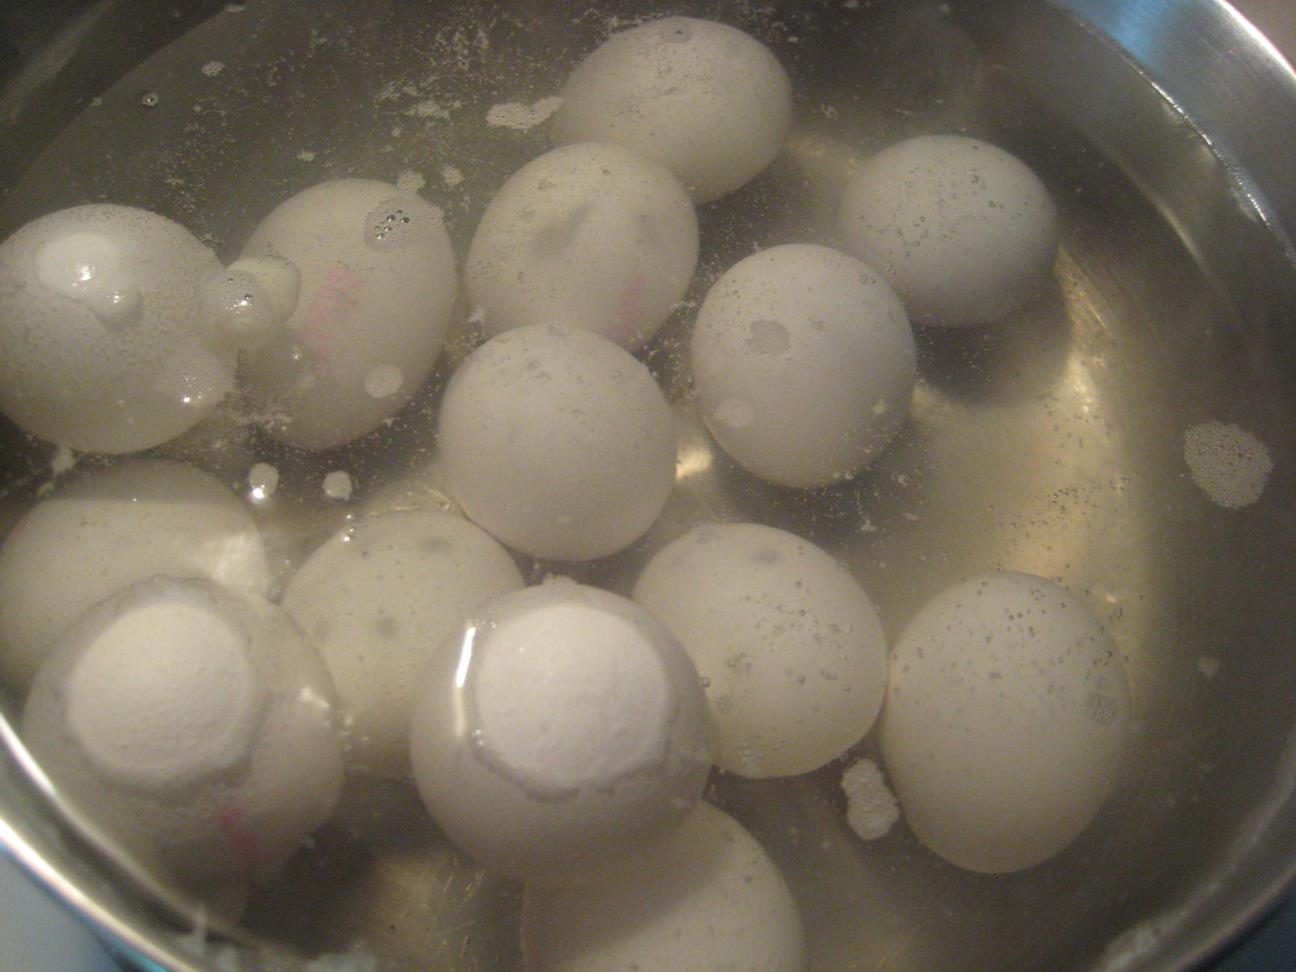
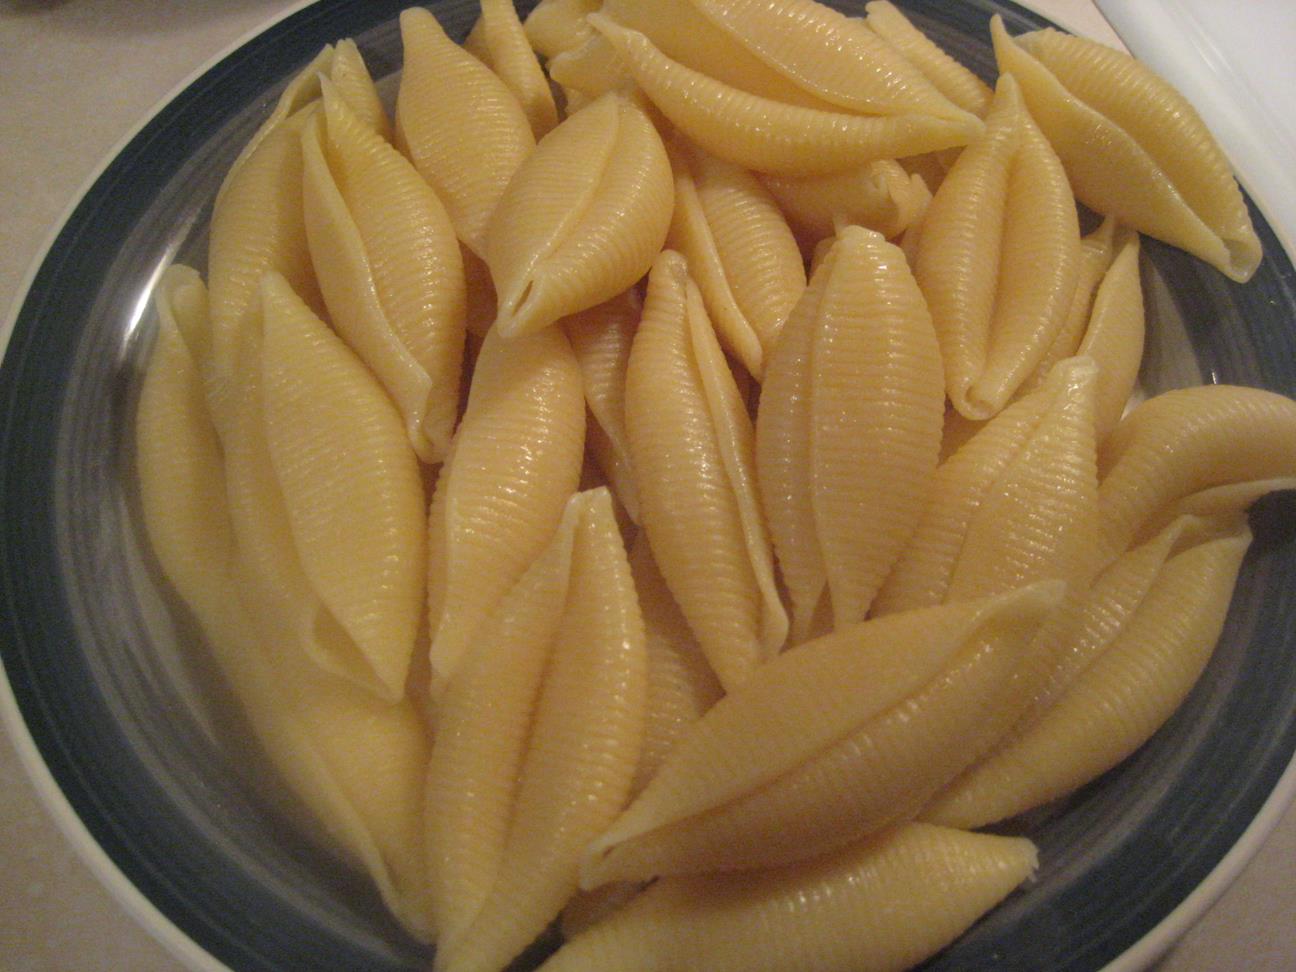
1. Put two big pots of water on the stove to cook. If you don’t have two big pots, you’ll need to cook your pasta one at a time. Be sure to stir them frequently so the pasta doesn’t stick to the bottom of the pot, and so the pasta doesn’t stick to itself either. Once they’re done, drain them all and set them aside. Continue with the other steps of this recipe while the pasta is cooking.
NOTE: Treat the giant clam pasta shells very delicately. Be really careful when stirring them, but make sure to stir them frequently. You don’t want them to rip, break, or tear. You need as many of them to stay in prime shell condition so you can stuff them on Night #2. When you drain them, be really careful then too.

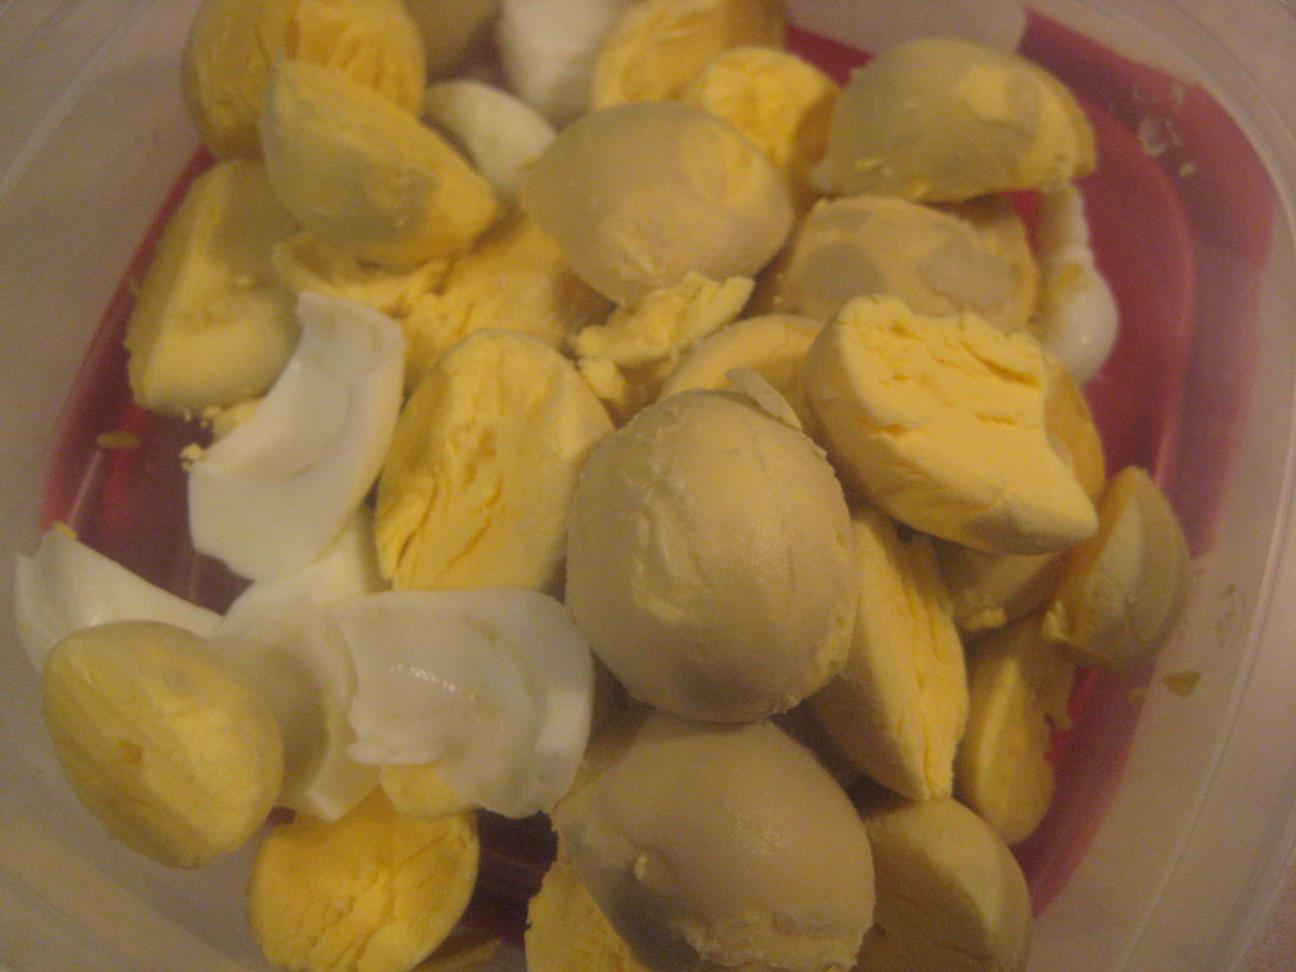
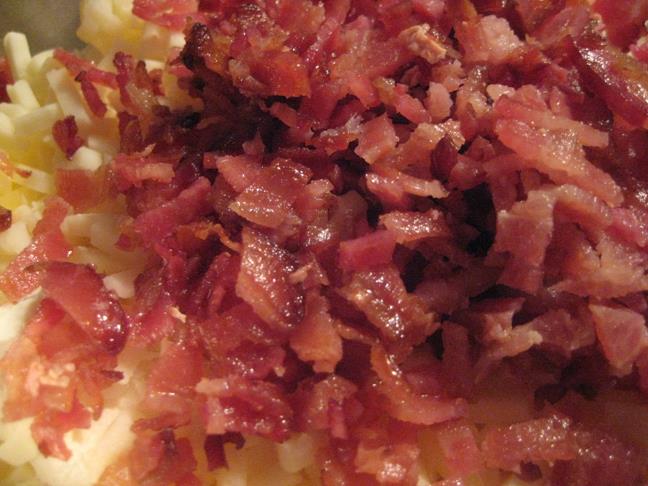
Stirring the macaroni

Stirring the clams
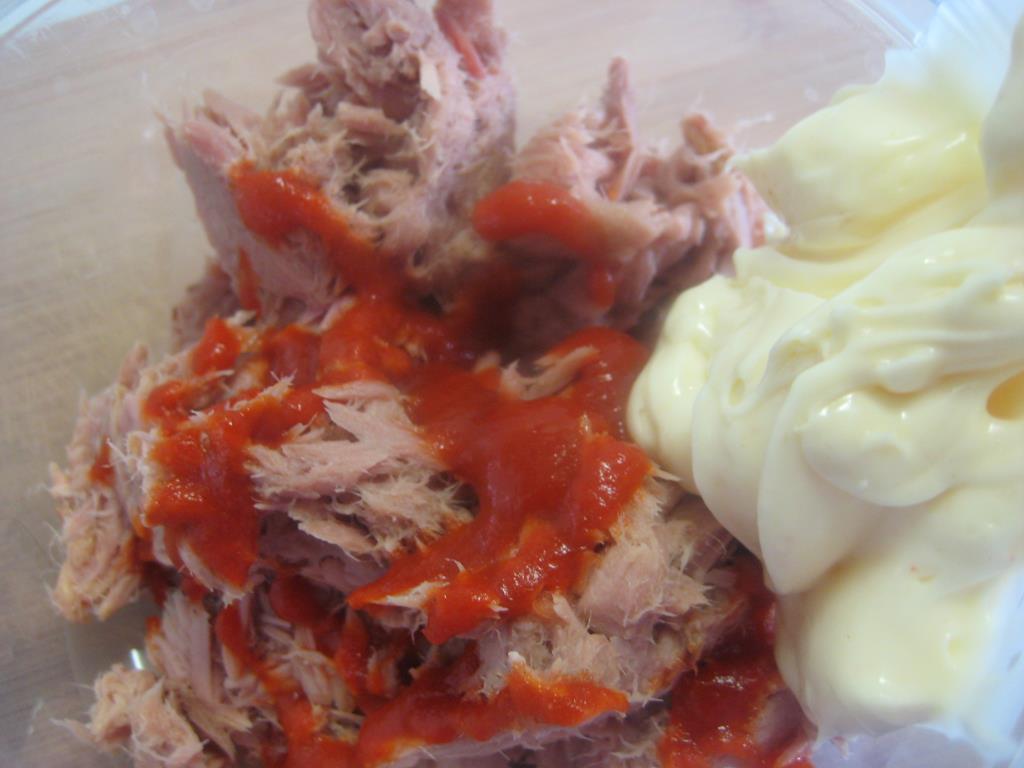
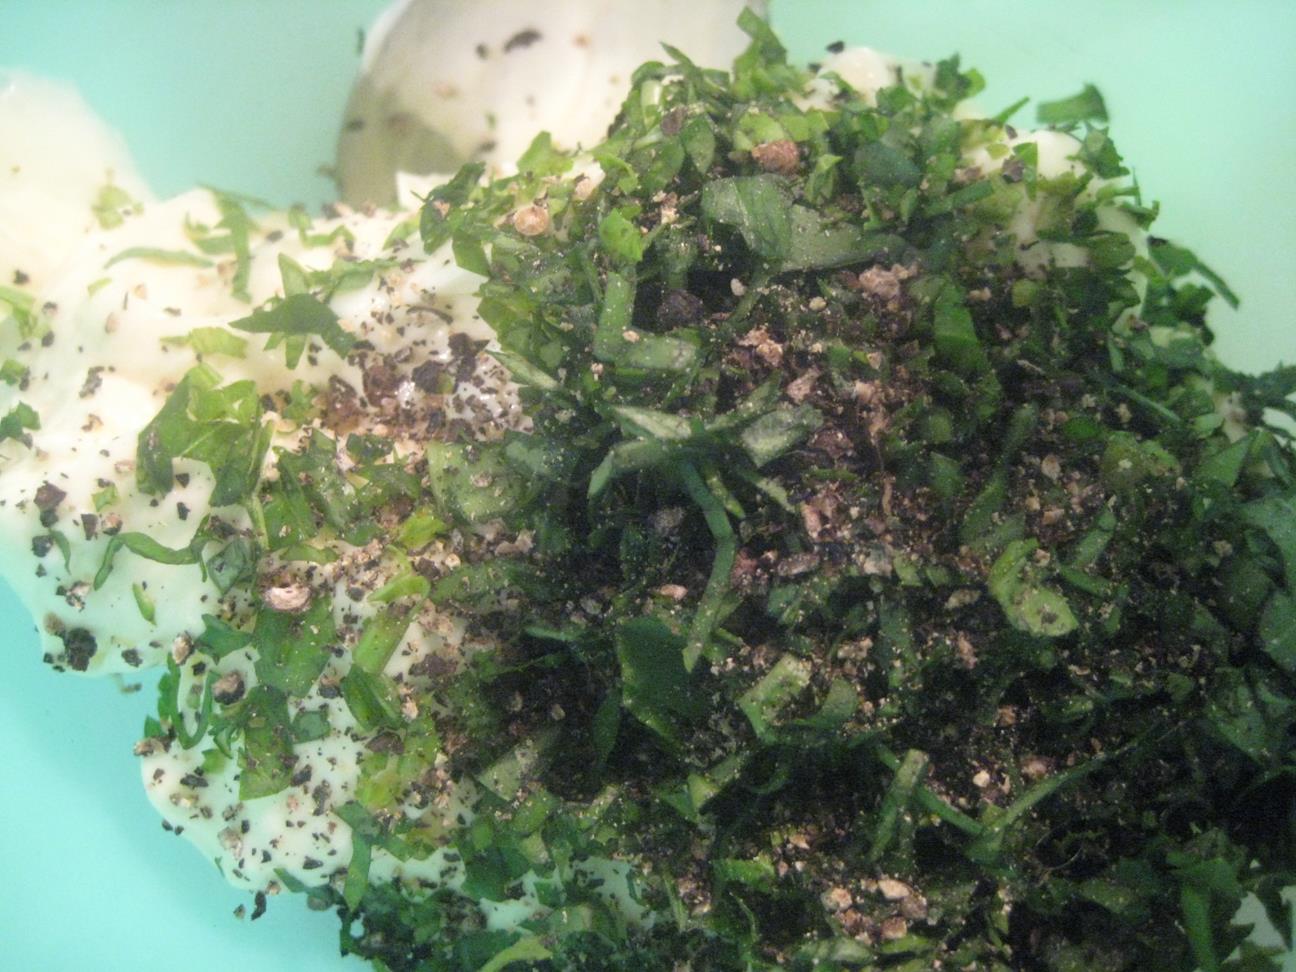
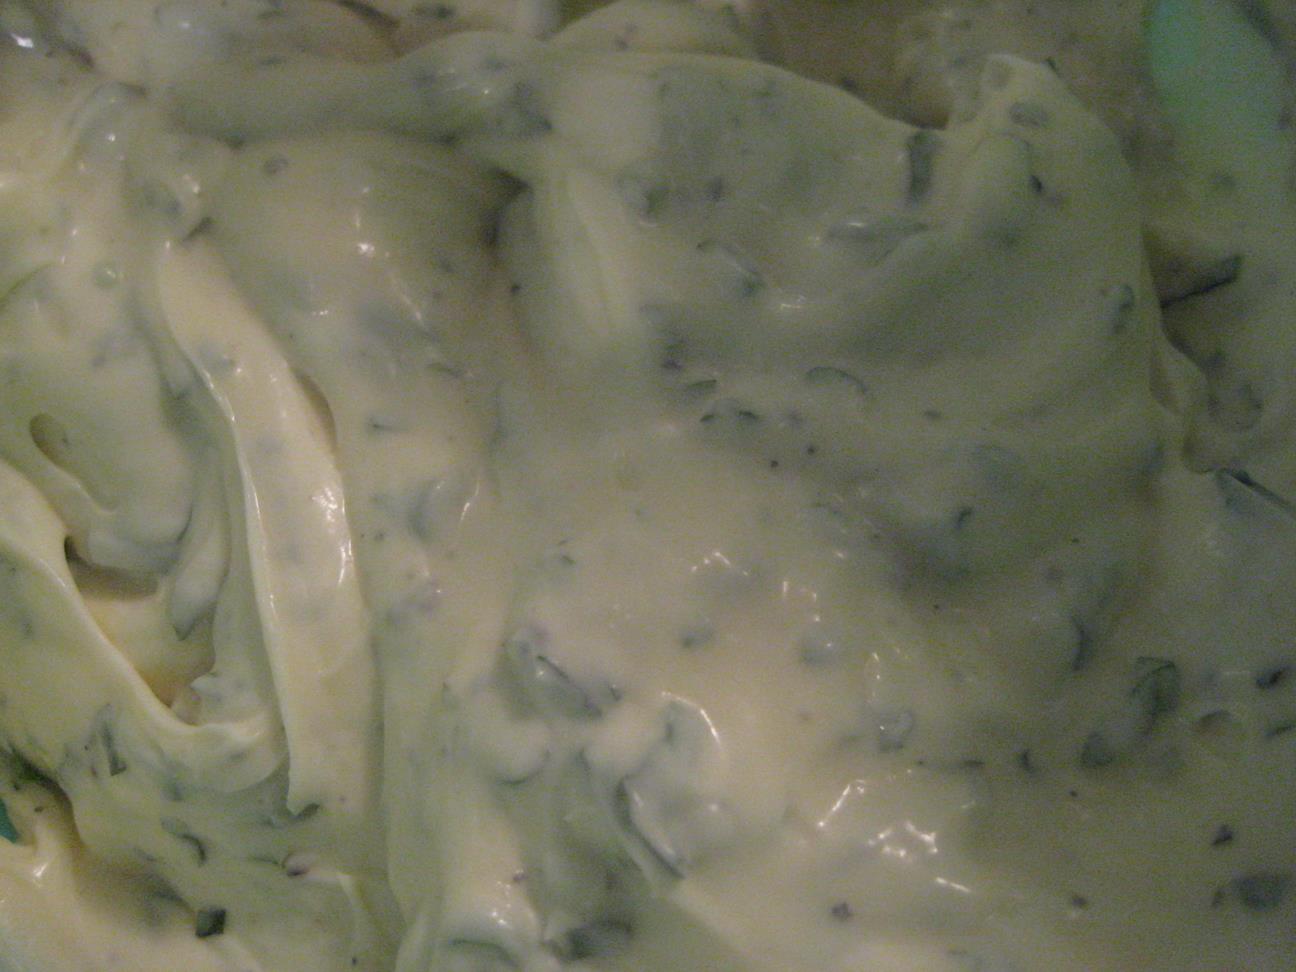
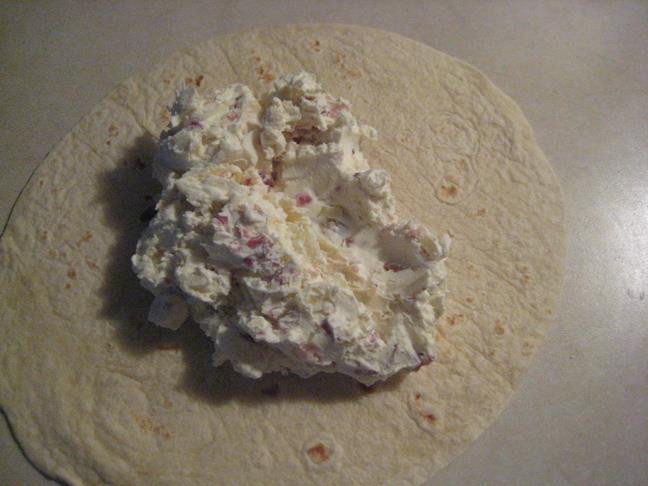
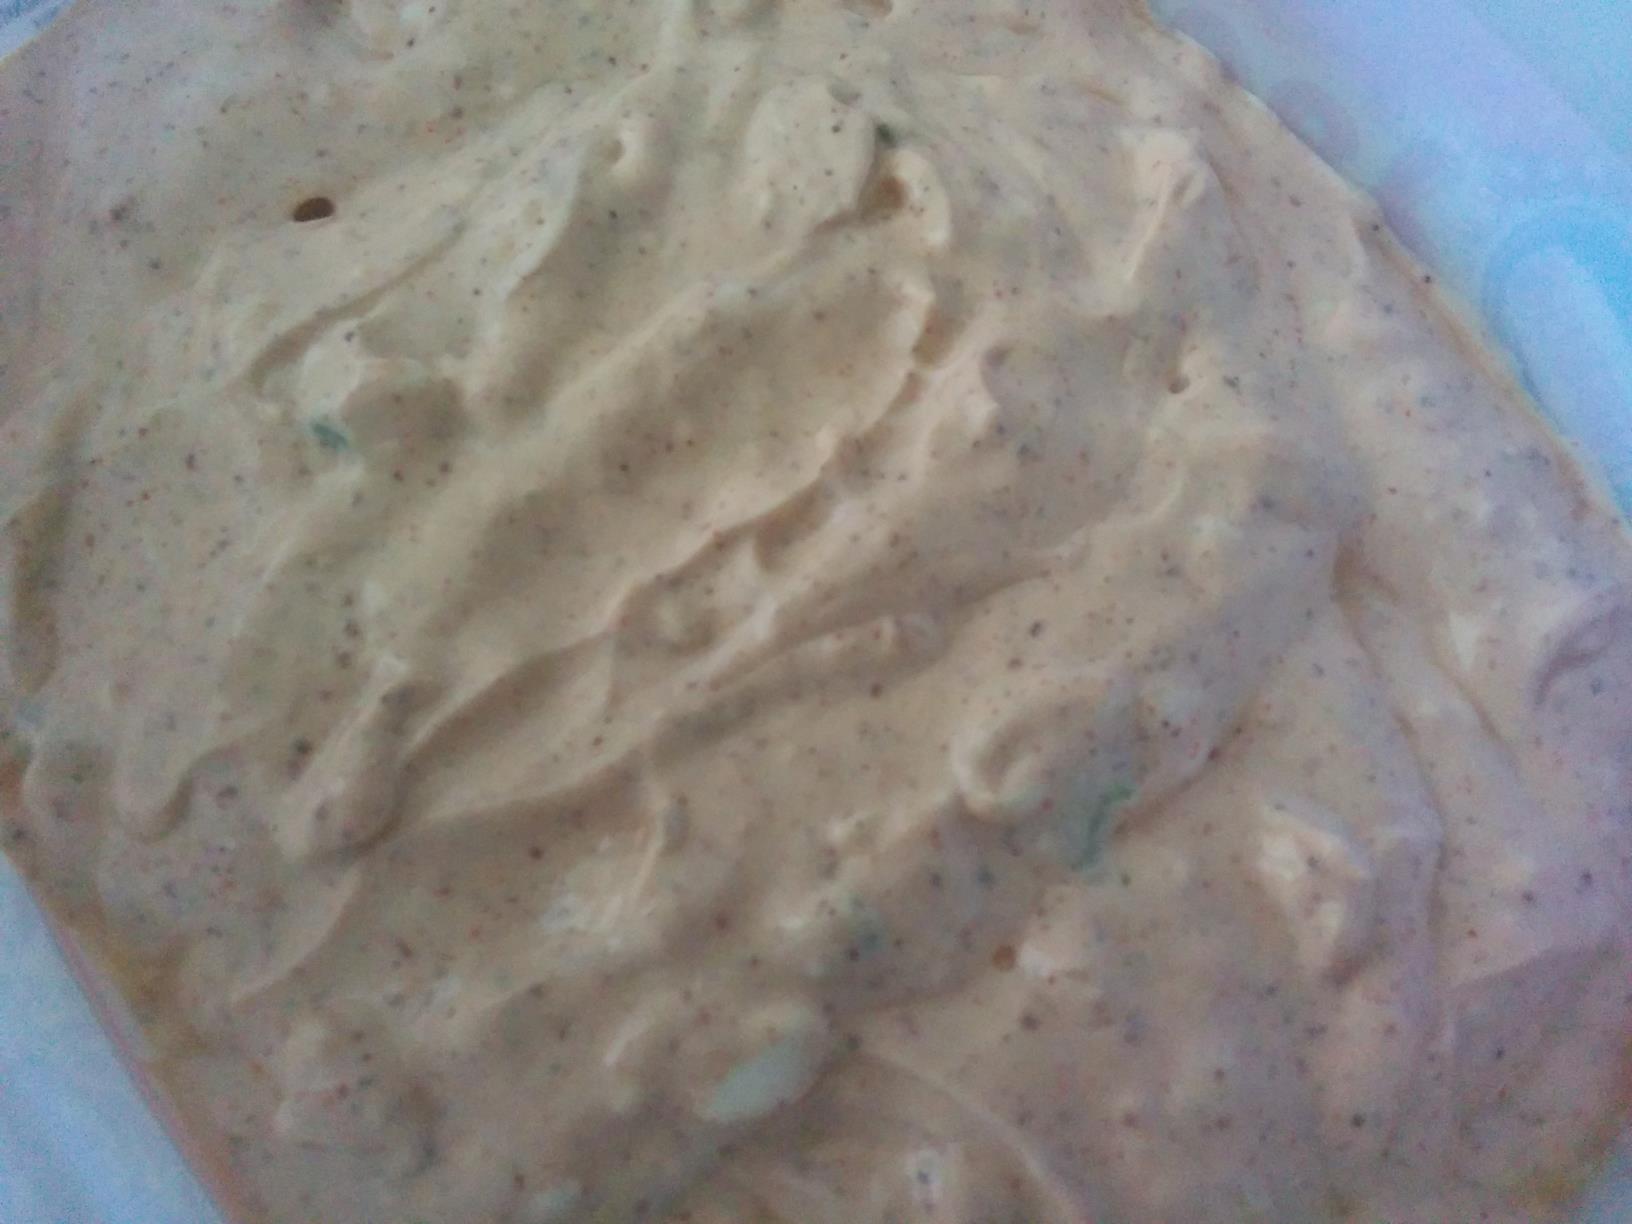
2. Put a few good globs of mayonnaise in a container that has a lid. Then add half of your freshly-chopped basil and some pepper. Stir it around until it’s well-mixed. Once it’s all well-mixed, put the lid on the container and put it in the fridge. By letting this stay in the fridge overnight, you’re given the basil time to unleash it’s amazing flavors into the mayonnaise. I don’t even like basil but I love this mixture after it’s been in the fridge overnight!!

Pre-mixed delicious mayonnaise mixture

Mixed delicious mayonnaise mixture
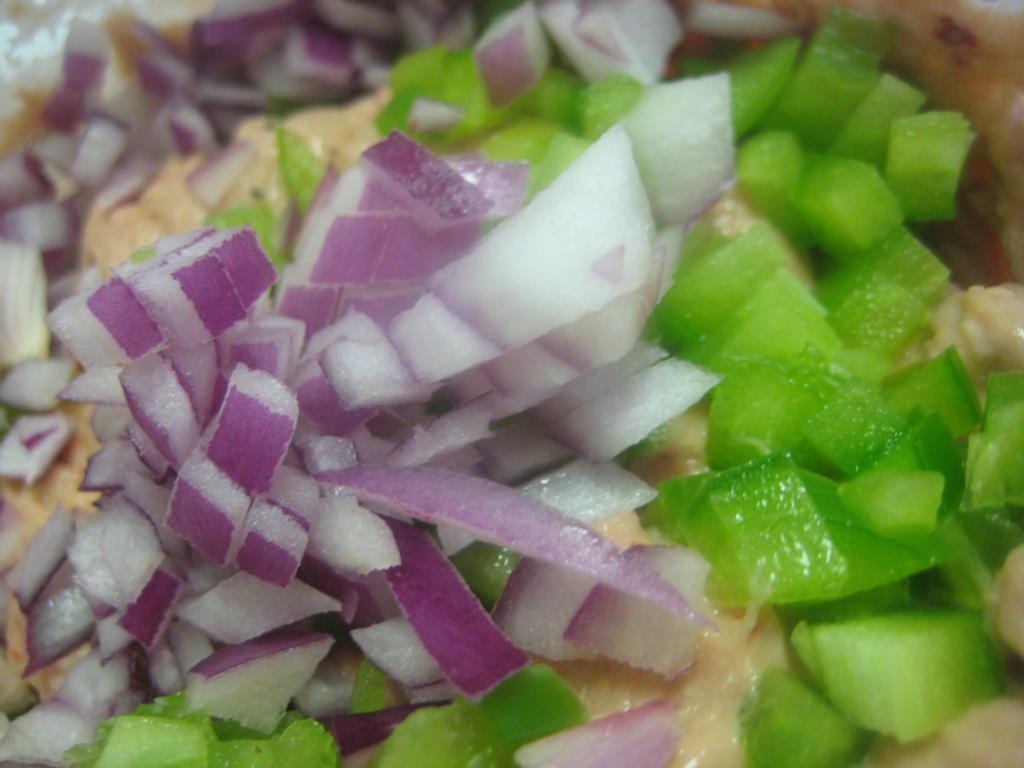
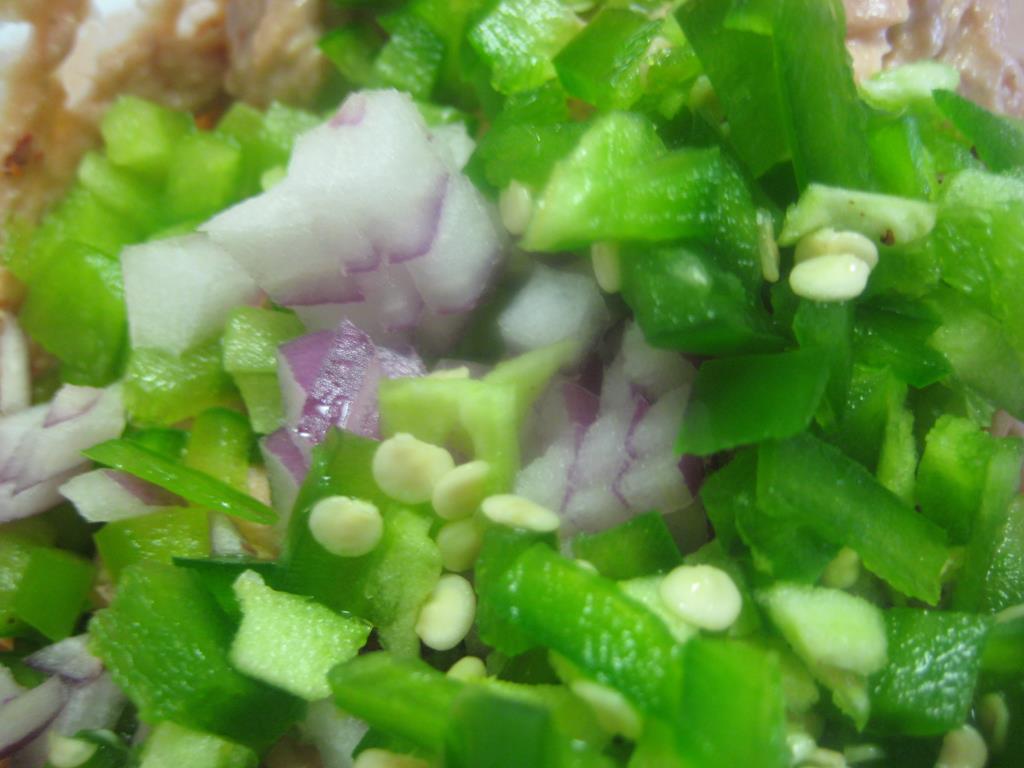
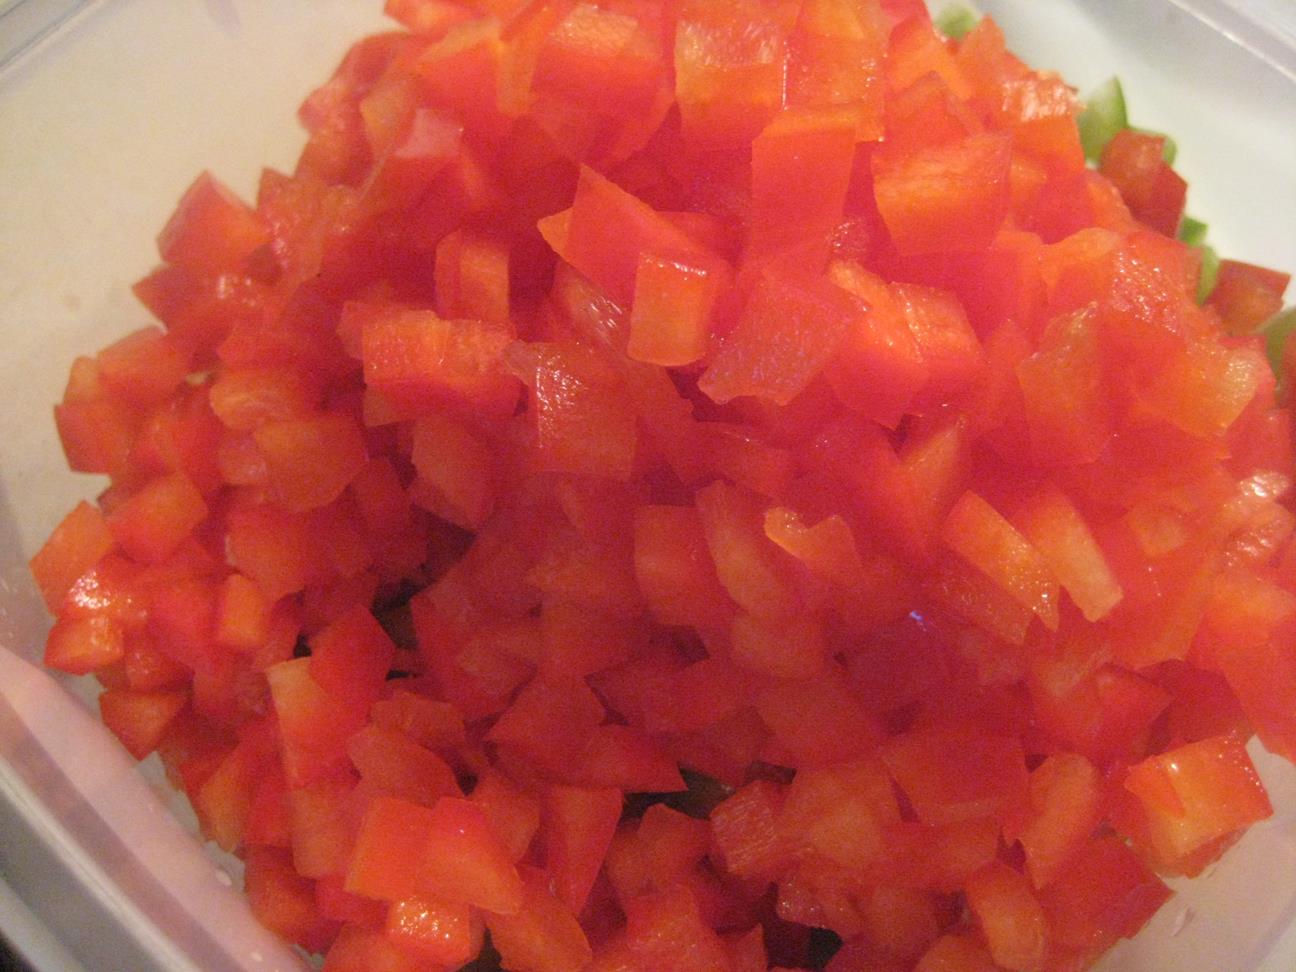
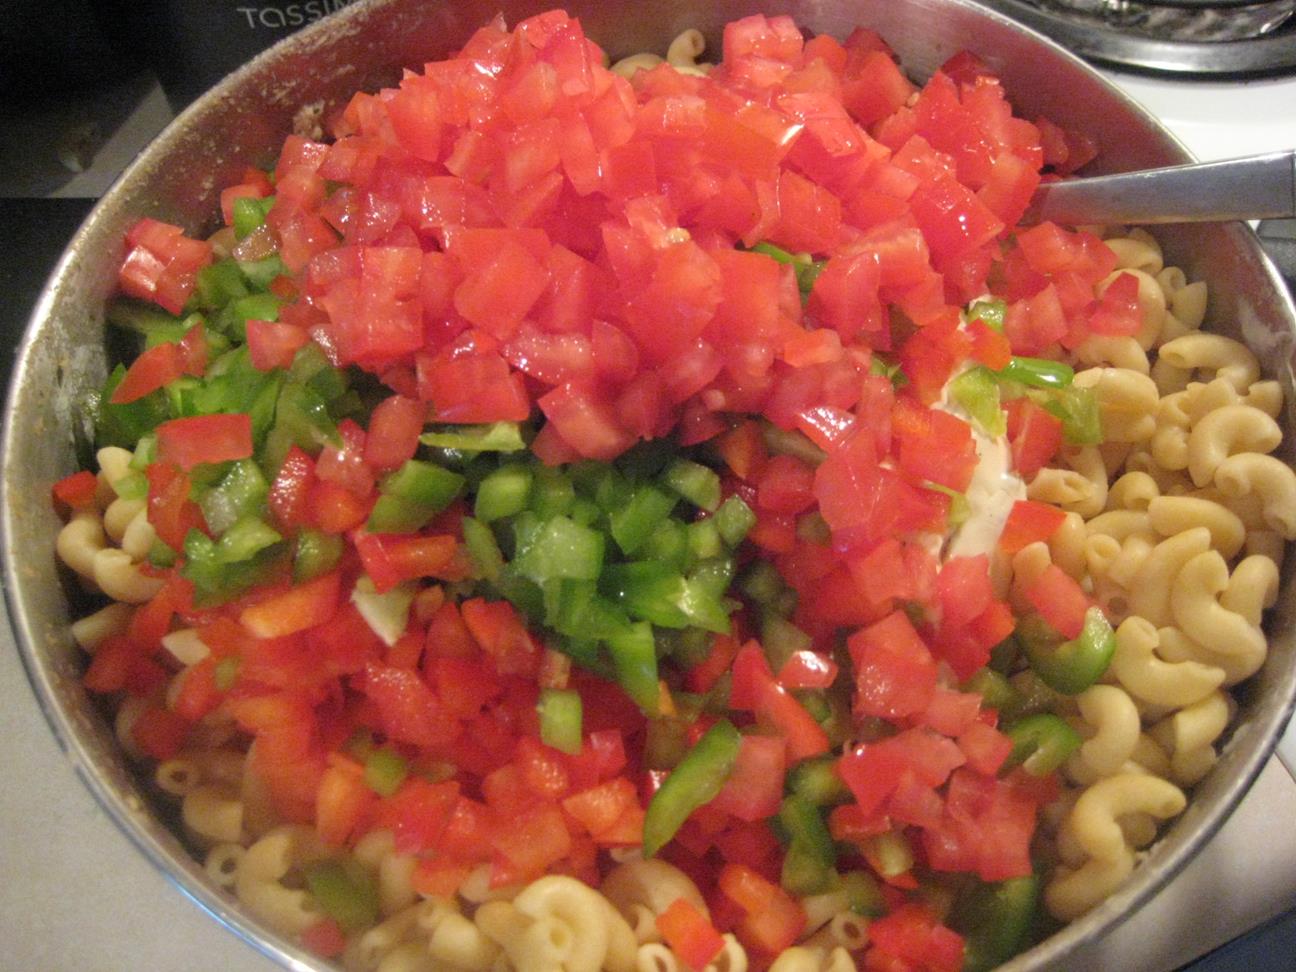
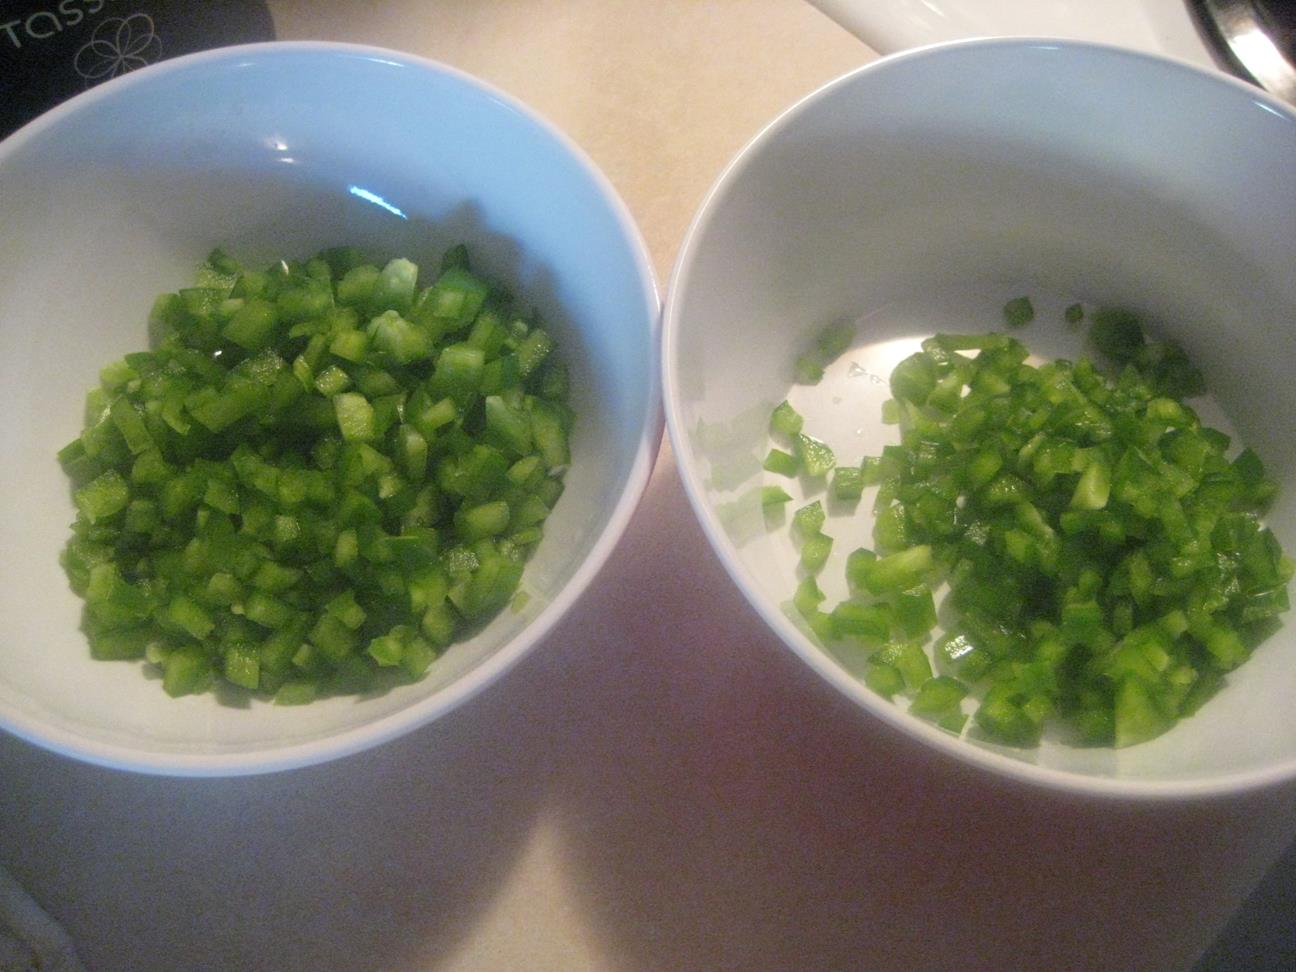
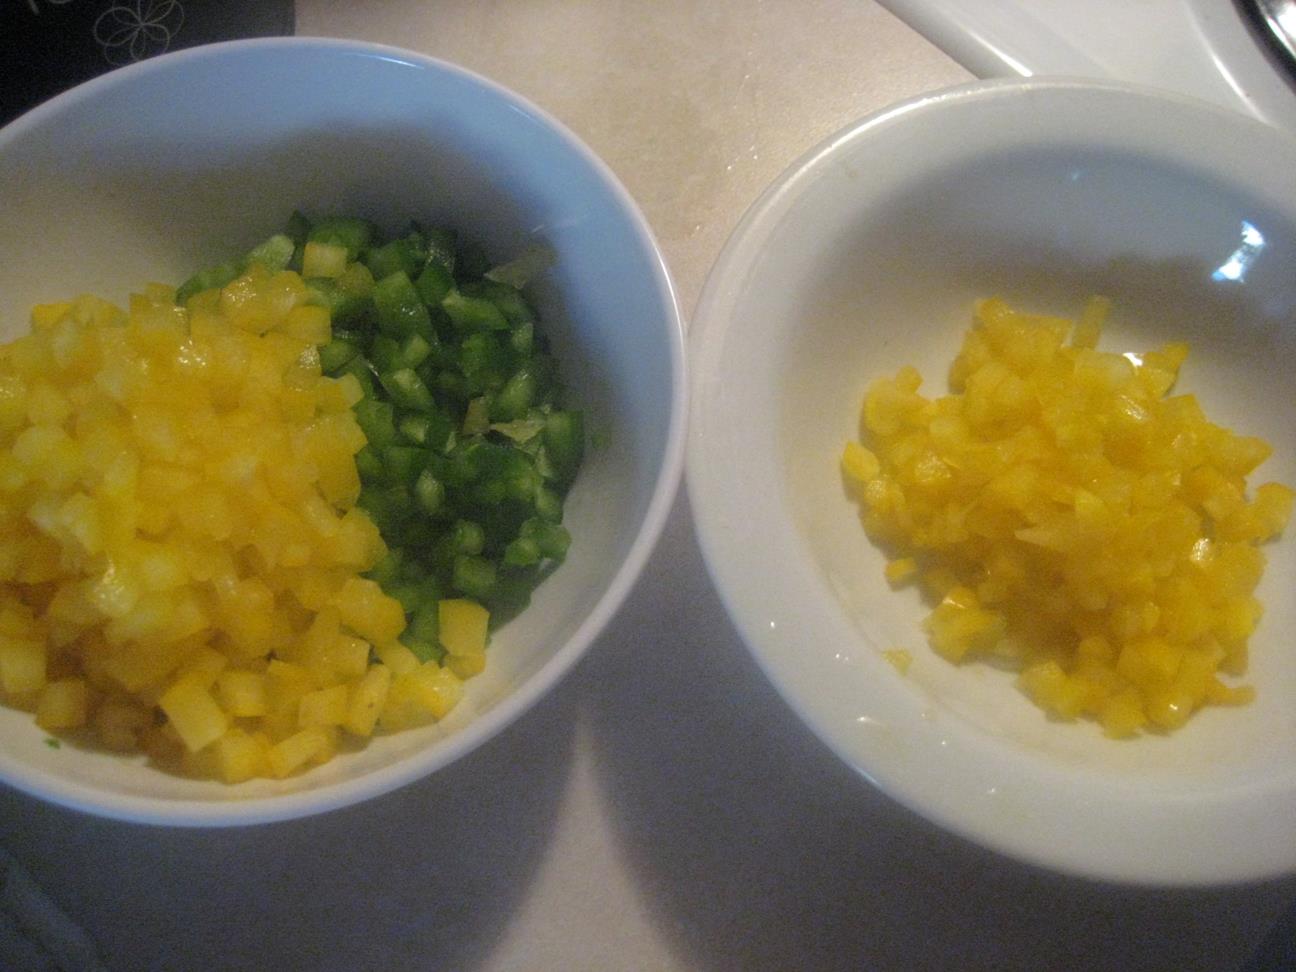
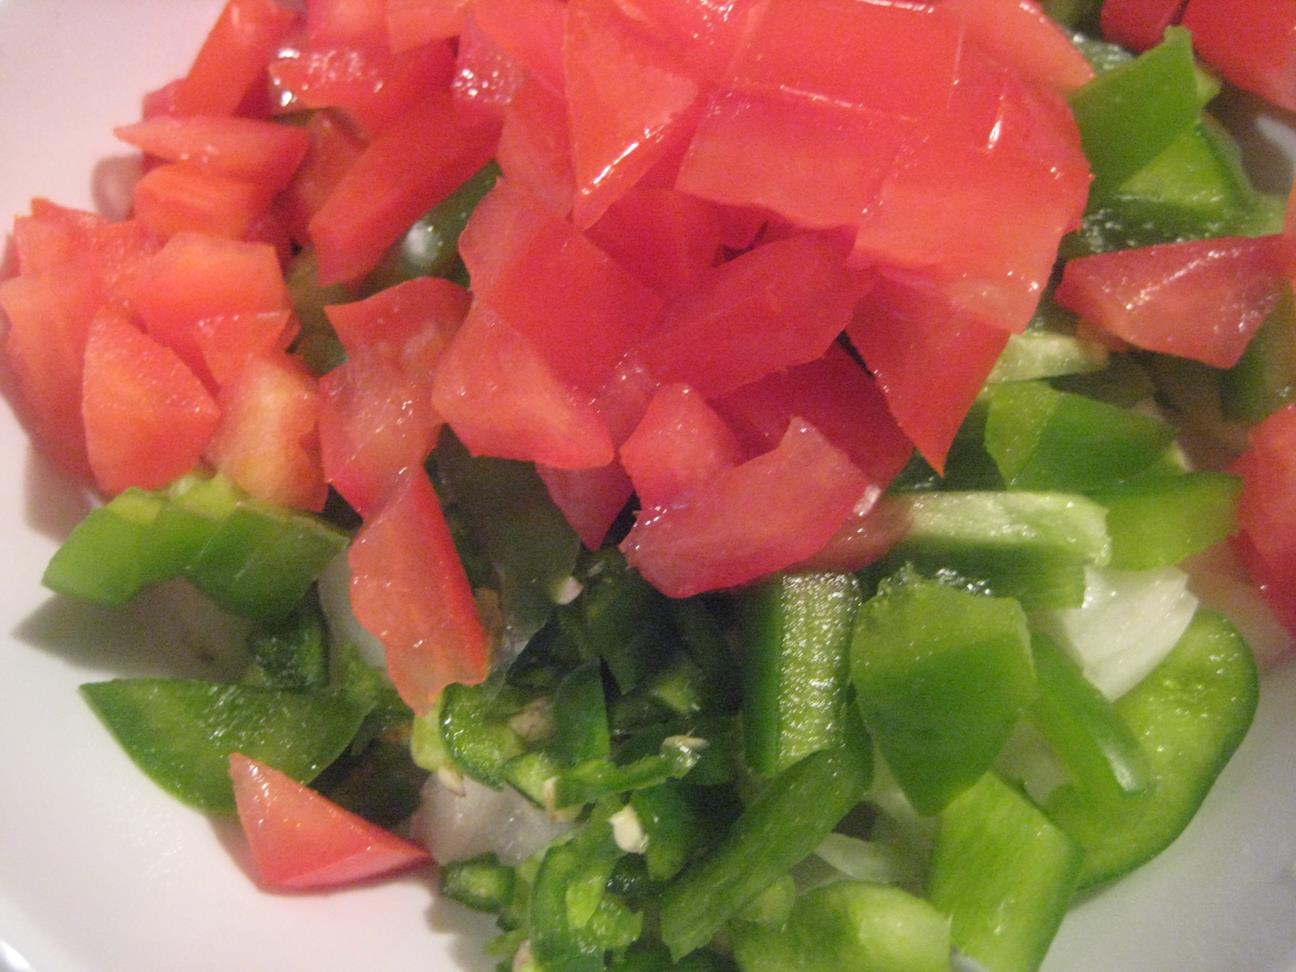
3. Finely dice up your red and green peppers. Once they’re all finely chopped, put them in a bowl or reusable container with a lid, and put them in the fridge overnight.

Red peppers, with green peppers underneath, all ready to be mixed into the macaroni salad on Night #2.
4. Finely dice up your tomatoes. Once you’ve diced all 3 roma tomatoes, put them in a container and into the fridge overnight.

Nicely diced-up tomatoes
5. Take the drained macaroni and rinse it with cold water. Use your fingers to comb through the pasta to make sure it’s not clumping together. You can’t make good macaroni salad with clumpy macaroni!
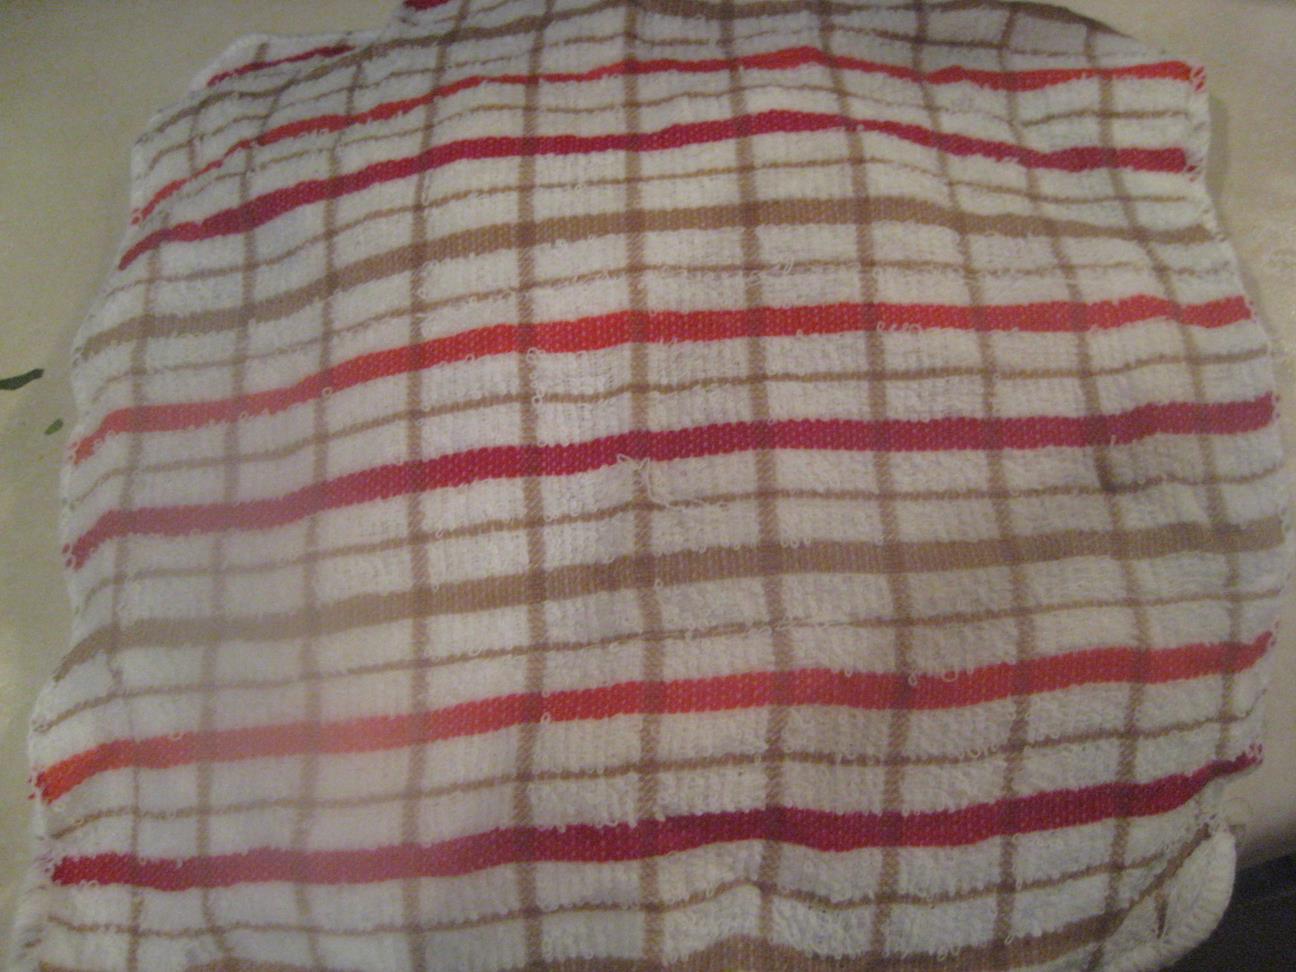
6. Once the macaroni is all cooled down and not clumping together, cover the whole pot with a damp cloth and put it in the fridge overnight. (transfer to a smaller container or whatever you need to do so it fits in the fridge). By covering it with a damp cloth, you’re keeping the pasta from drying out.

Pot of macaroni covered with a damp cloth, ready to go in the fridge until Night #2
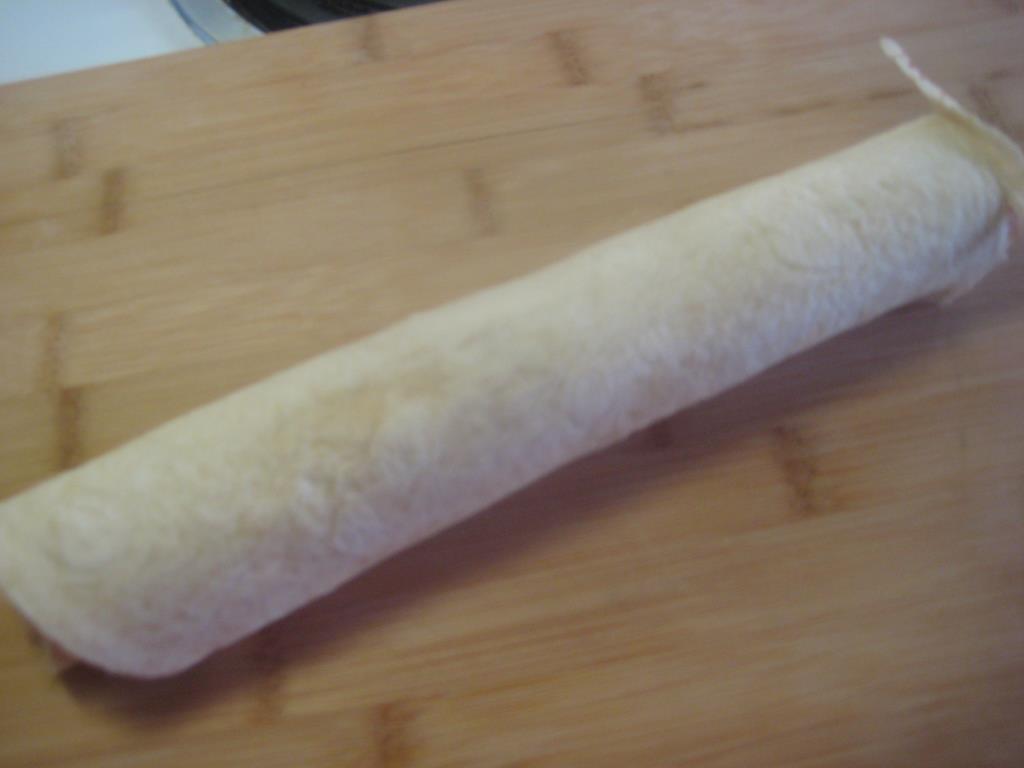
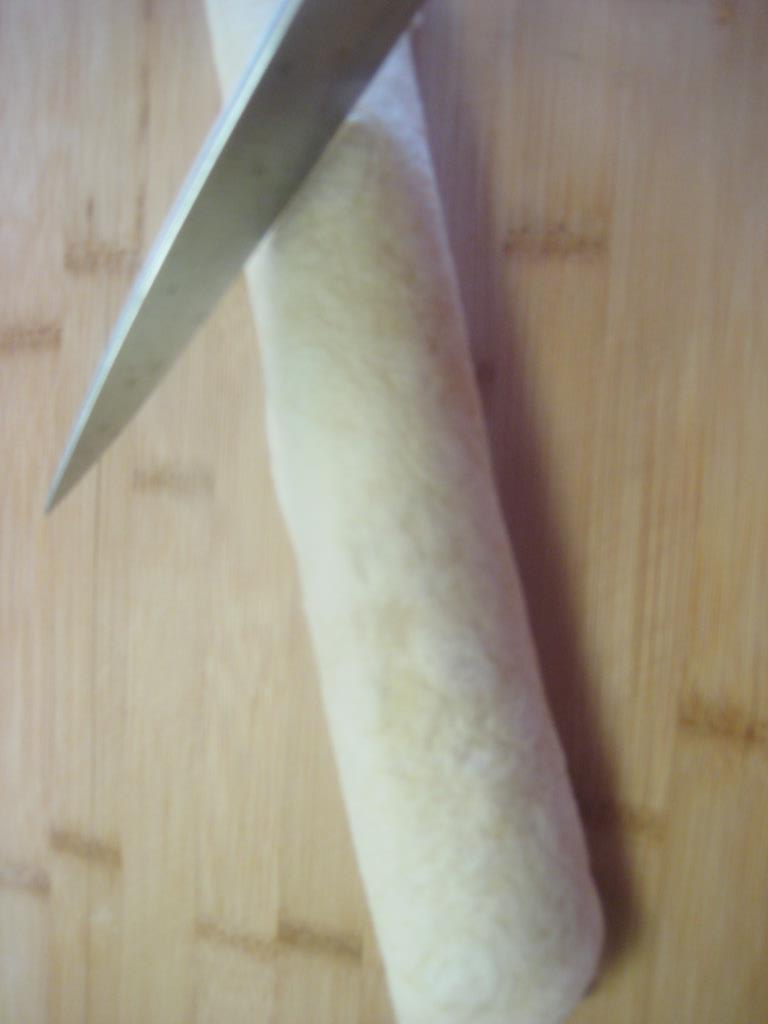
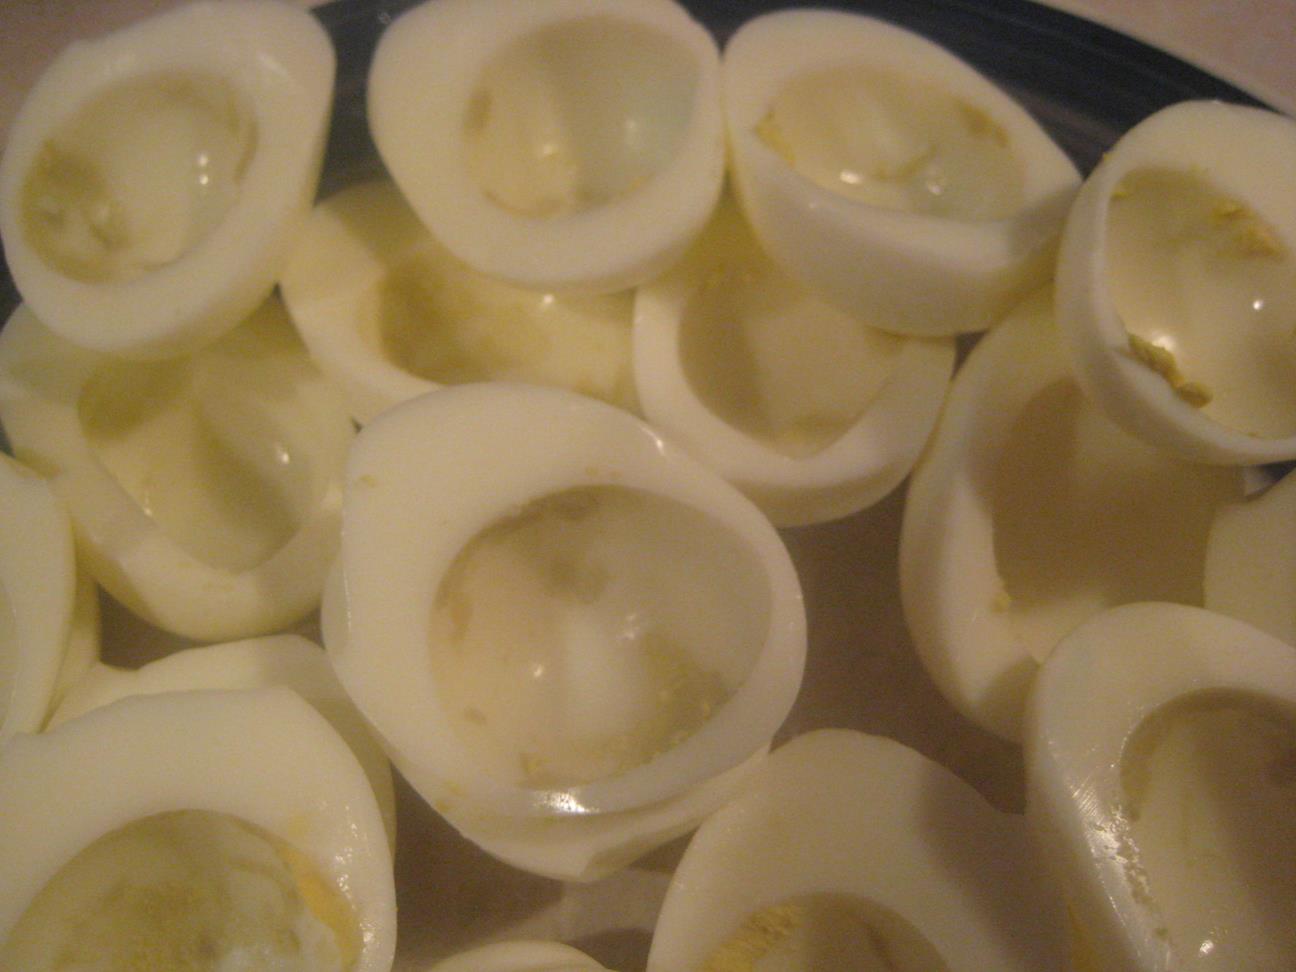
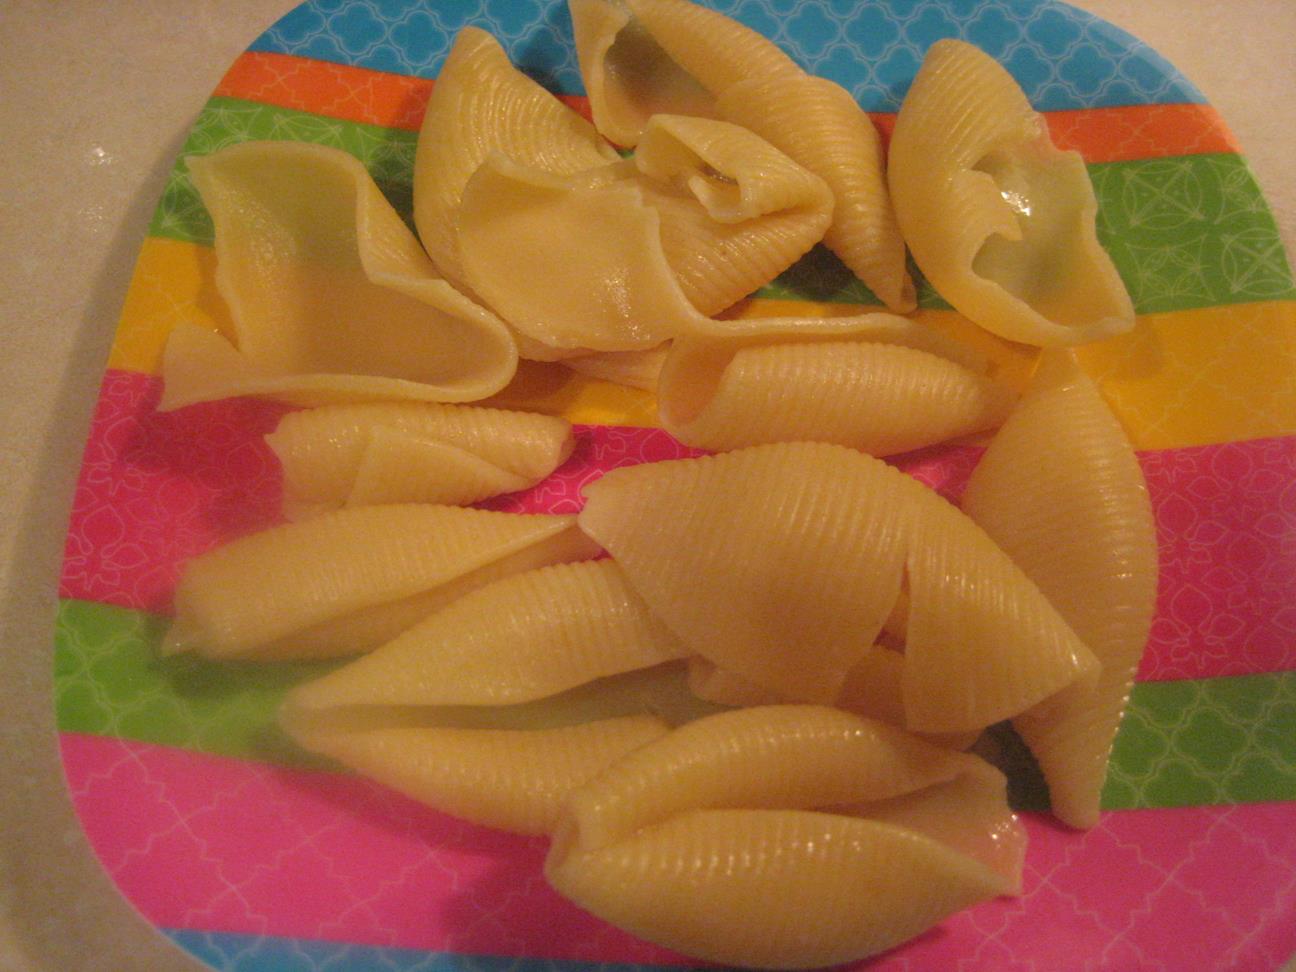
7. Now it’s time to deal with the giant clams. Once they’re drained and cooled, you need to get rid of any shell that won’t be stuff-able. Any shell that is ripped or torn or broken won’t look very good at your potluck, so take them out. Carefully put all of your good shells on one plate, and throw all the bad ones in the garbage. Once you’re done separating your clams, cover the plate of good clams with a damp cloth and put them in the fridge for Night #2.

Good clams – not broken, ripped, or torn

Ripped, torn, or otherwise crappy shells that won’t be good to stuff on Night #2

Good clams covered with a damp cloth, ready for Night #2
Night #2
1. Take everything that you put in the fridge on Night #1 out of the fridge.
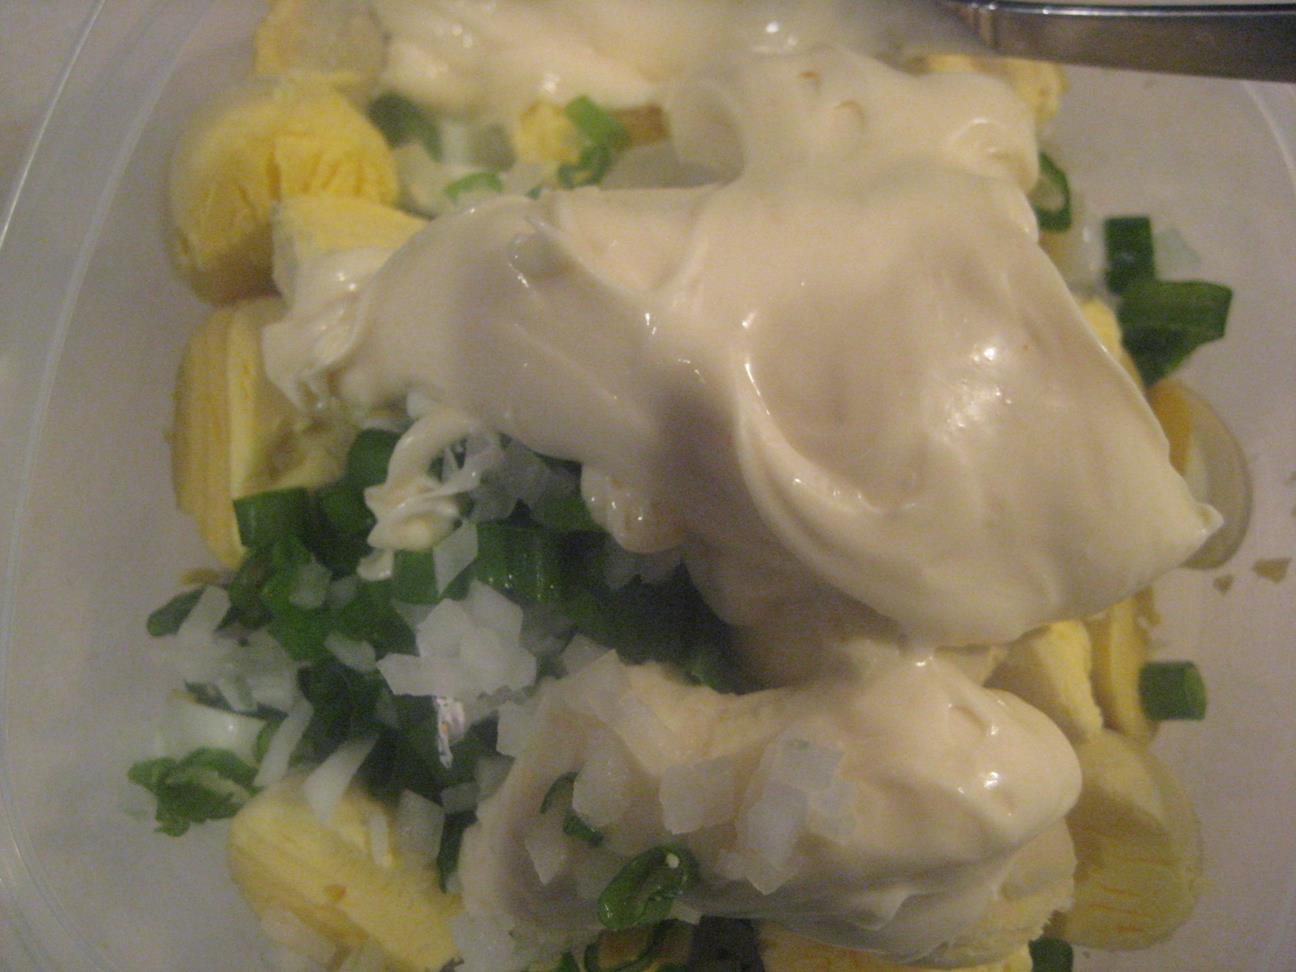
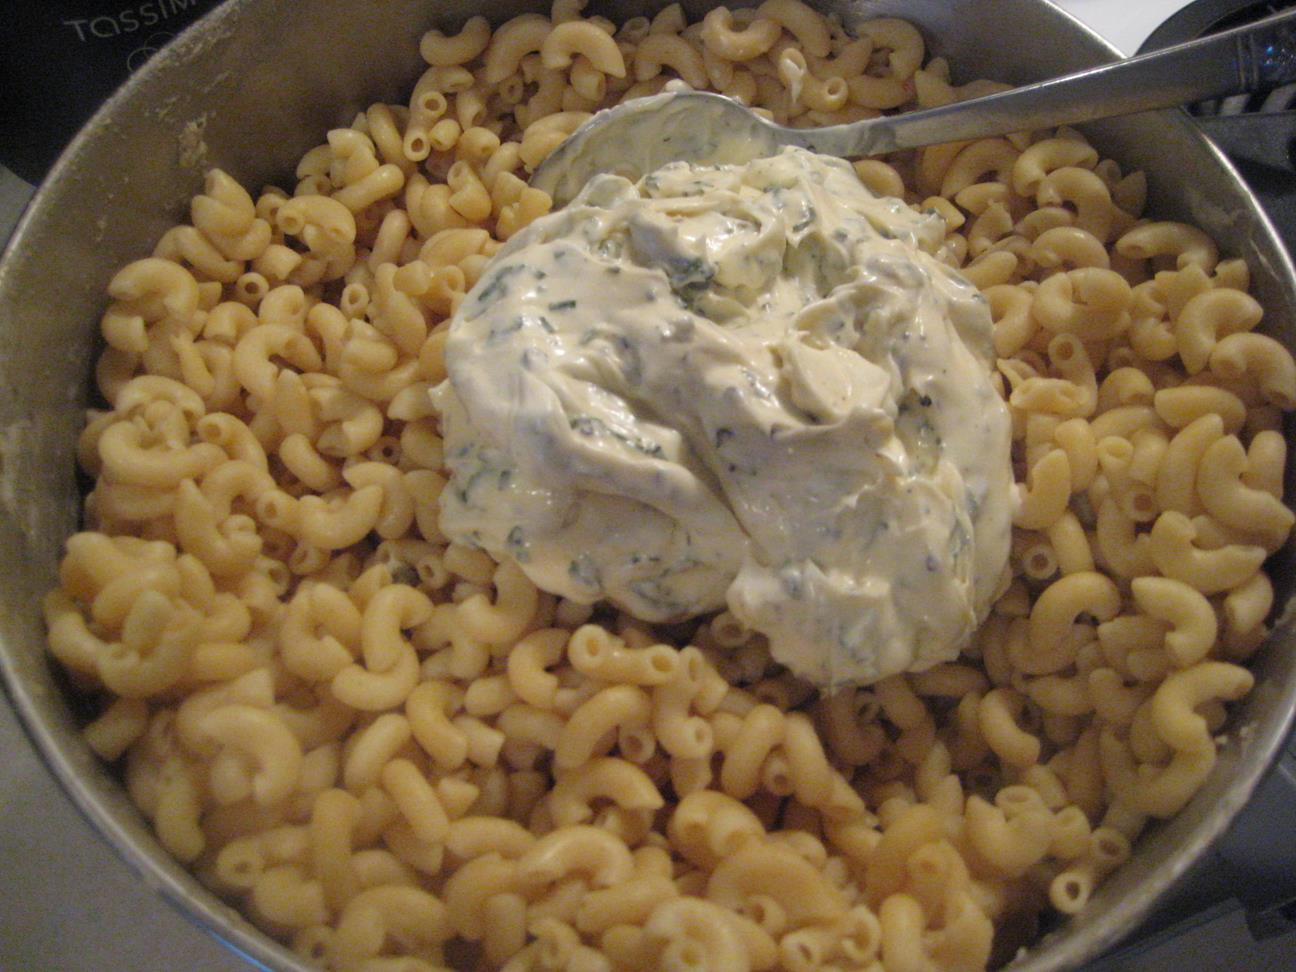
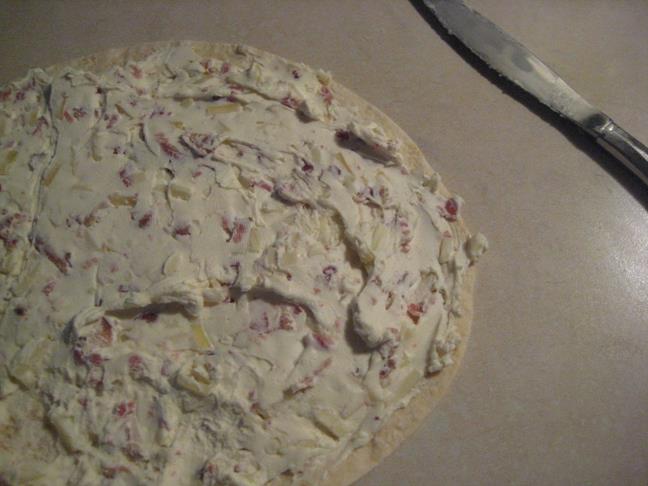
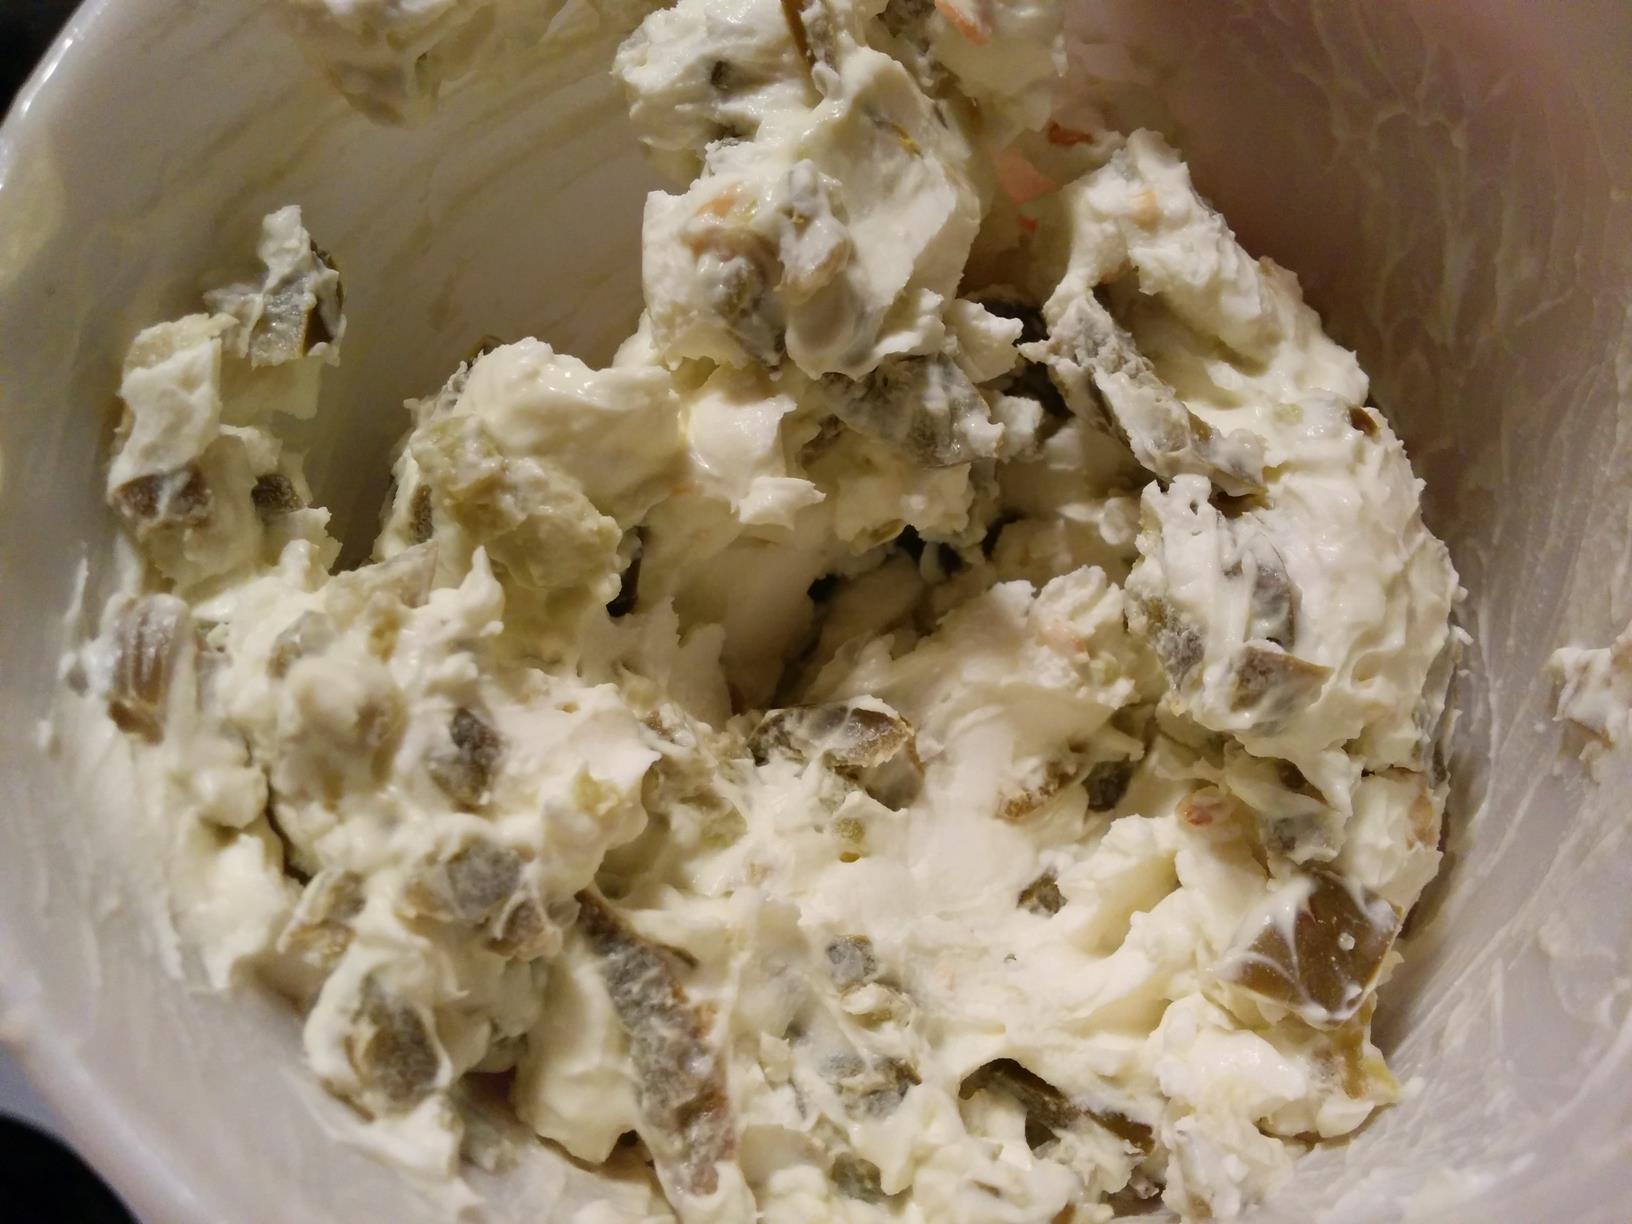
2. Spoon the delicious mayonnaise mixture on top of the macaroni.

Delicious mayonnaise mixture on the macaroni
3. Add the peppers and tomatoes into the macaroni pot too.

Peppers and tomatoes too!
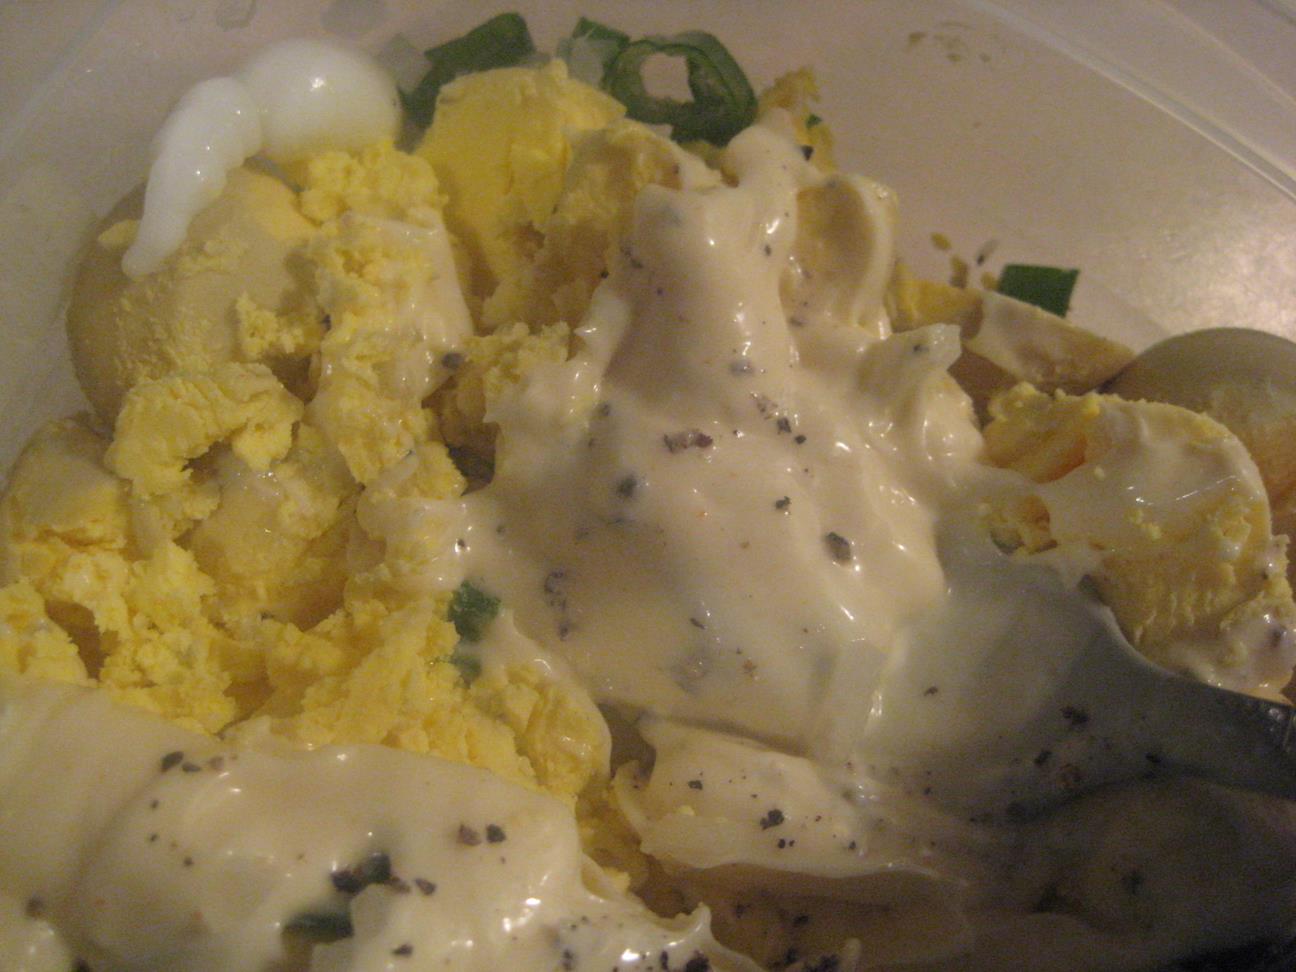
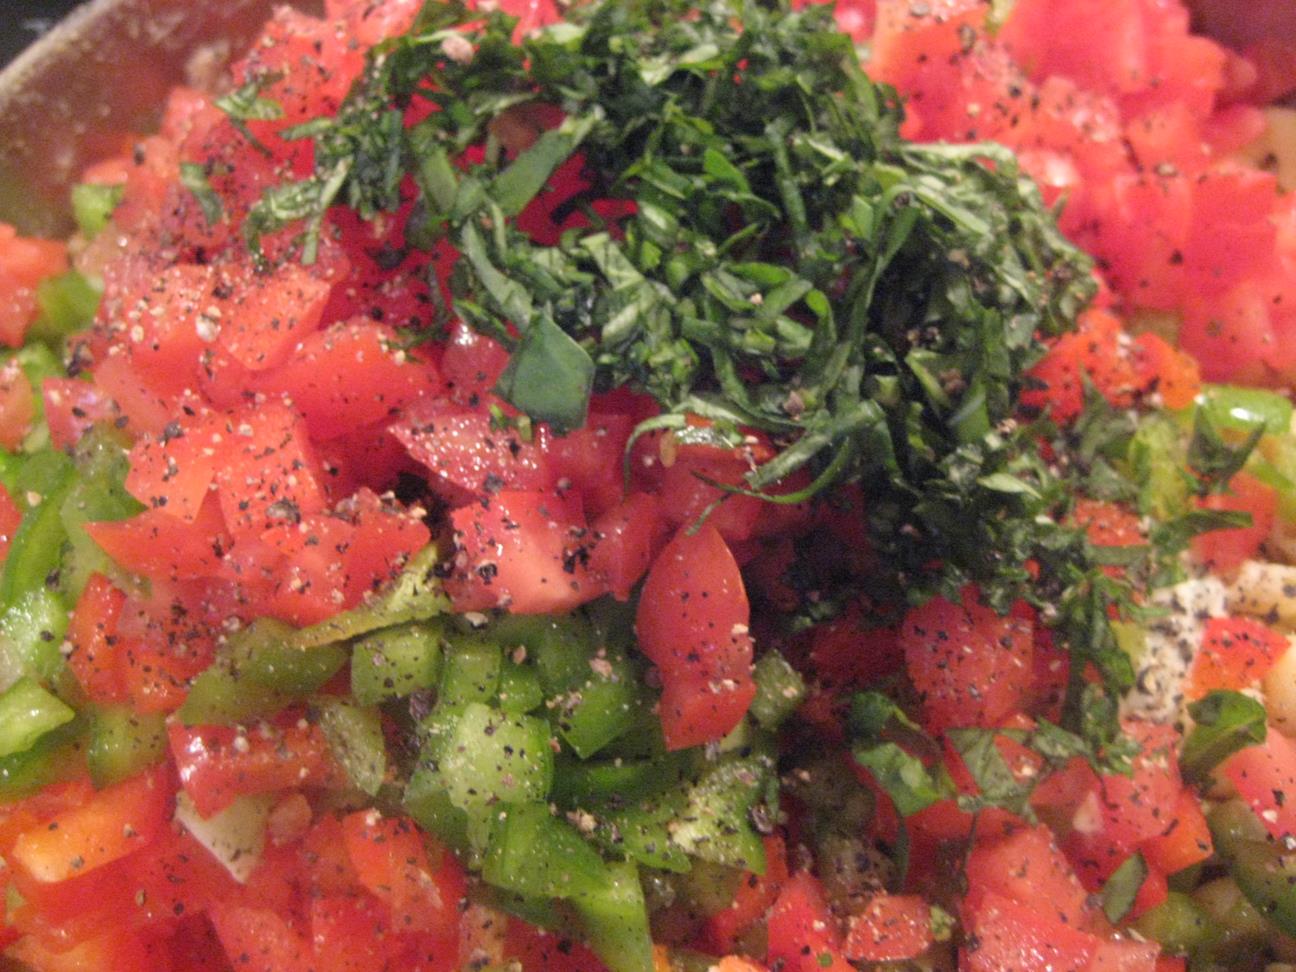
4. Finely chop the rest of the basil and add it to the mixture. Add more freshly cracked black pepper if you like (I like it, so I add a lot!)

Looking pretty good!
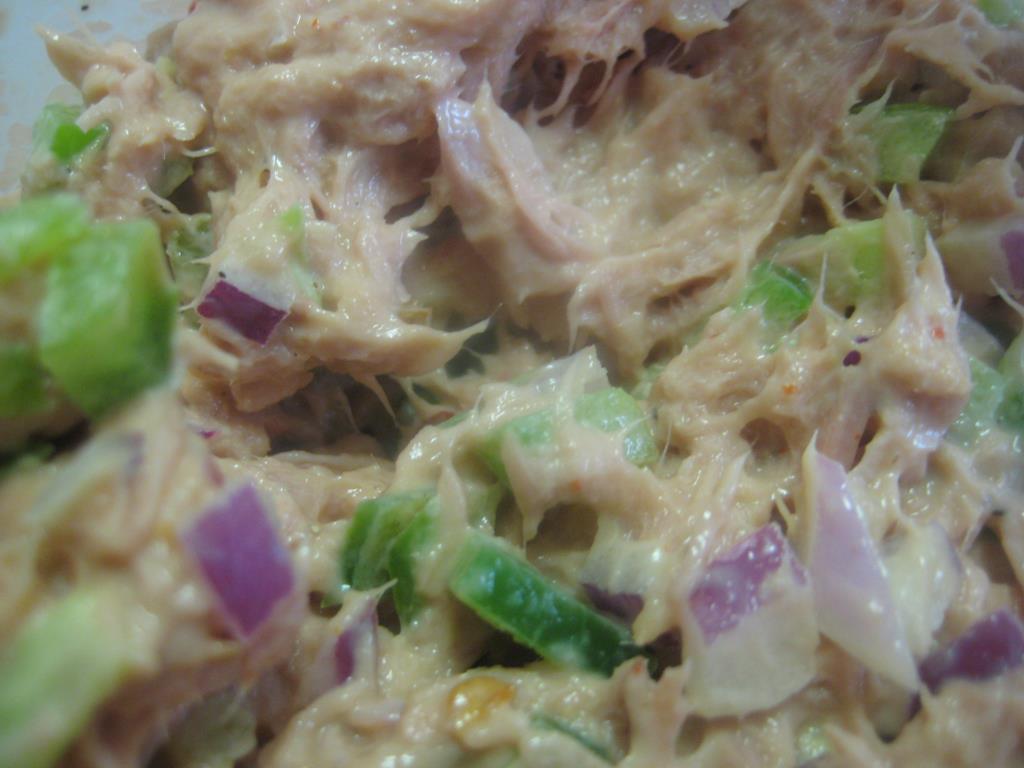
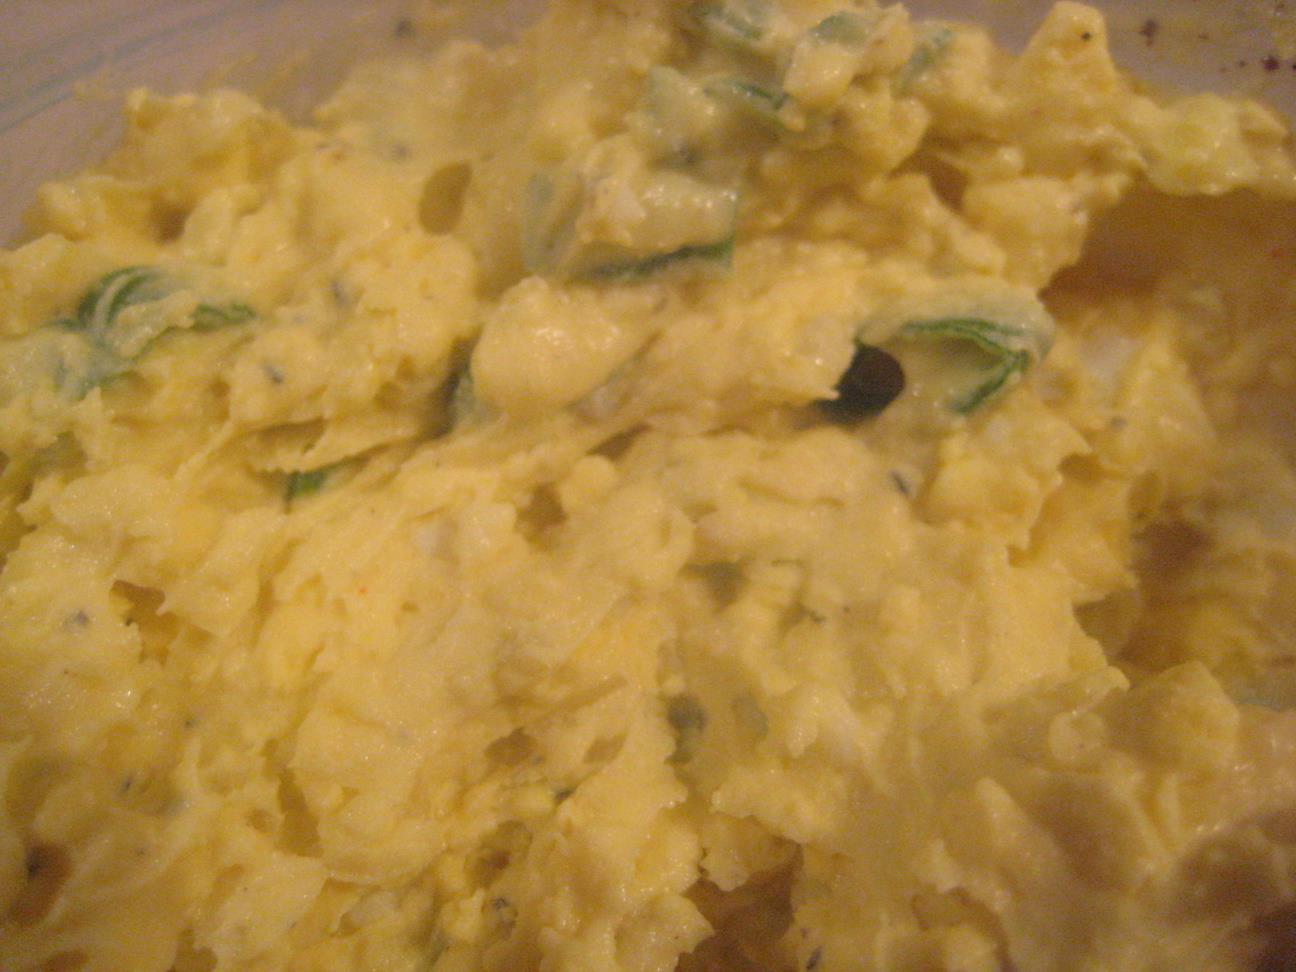
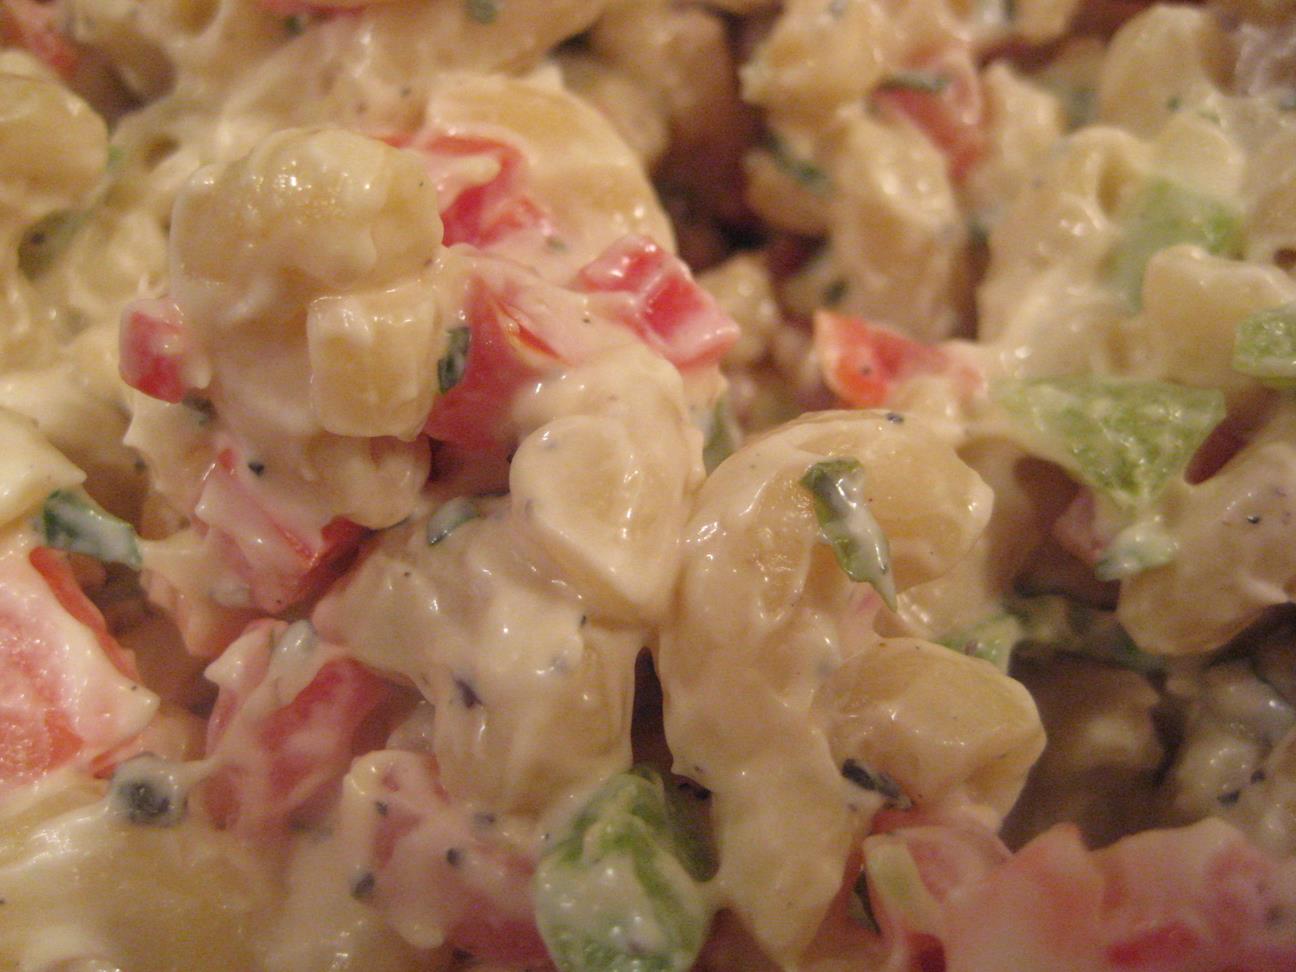
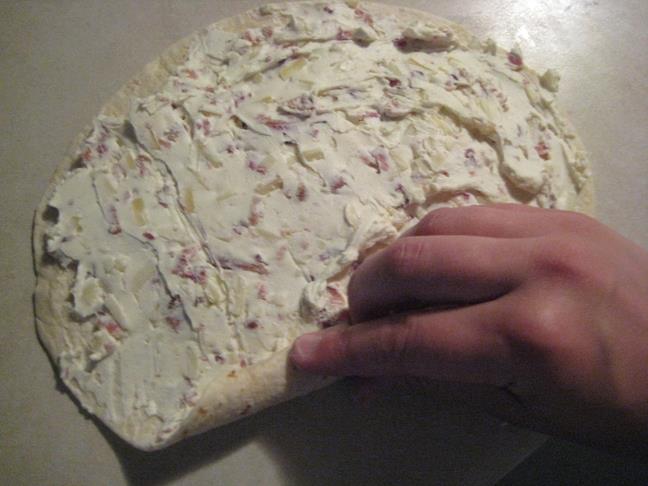
5. Mix it all up until you have a gorgeous macaroni salad. Since this macaroni salad is going into a dryer pasta shell, it’s a good idea to make sure there’s more mayonnaise than you would ordinarily put into macaroni salad – this will make sure that when someone eats a bit, the outer dry clamshell doesn’t stay too try – the moist macaroni salad will compensate! So add more mayonnaise if you think you need to.

Yum!!
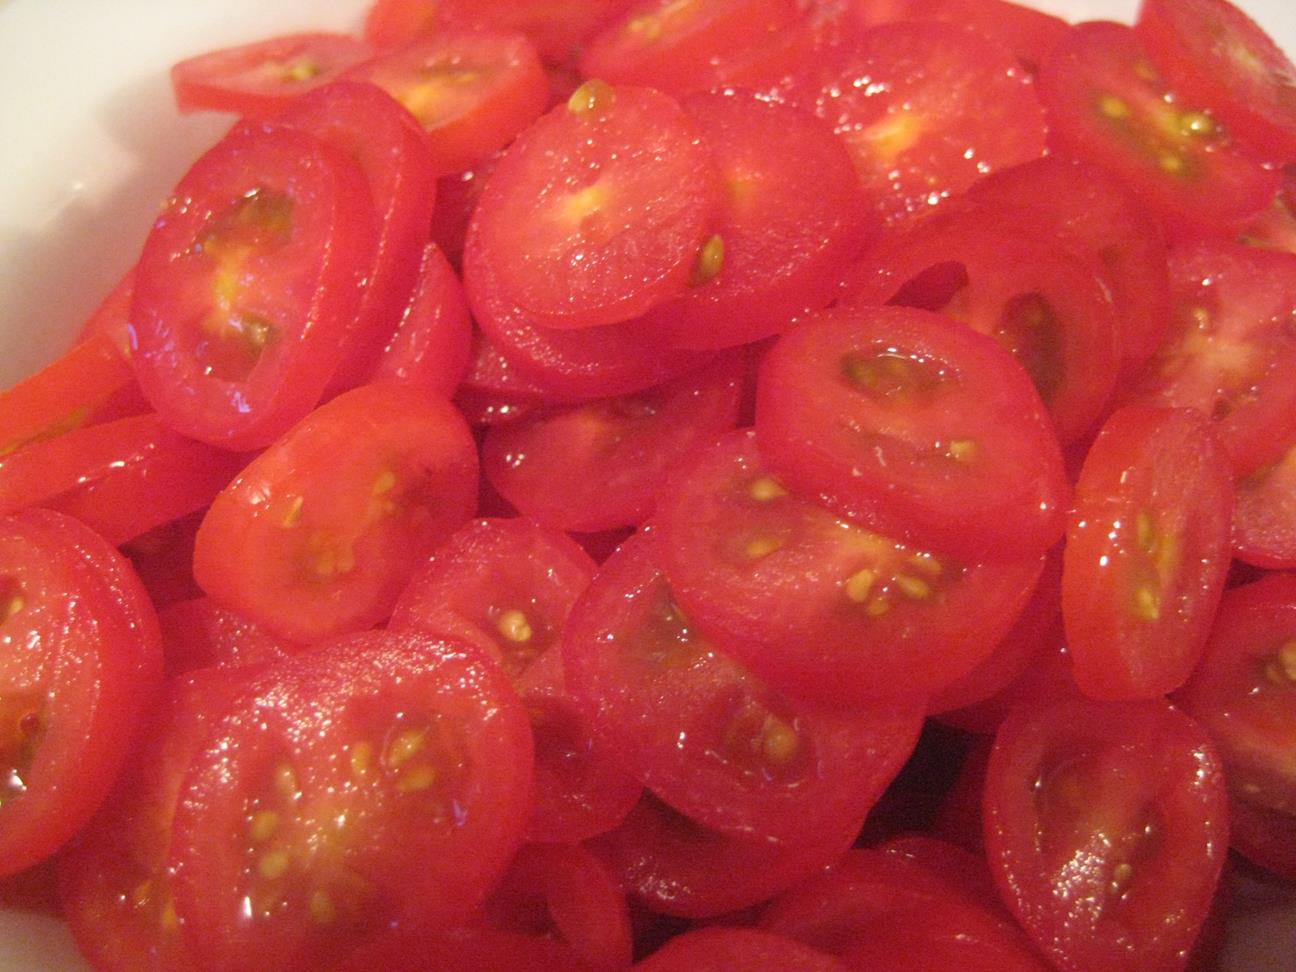
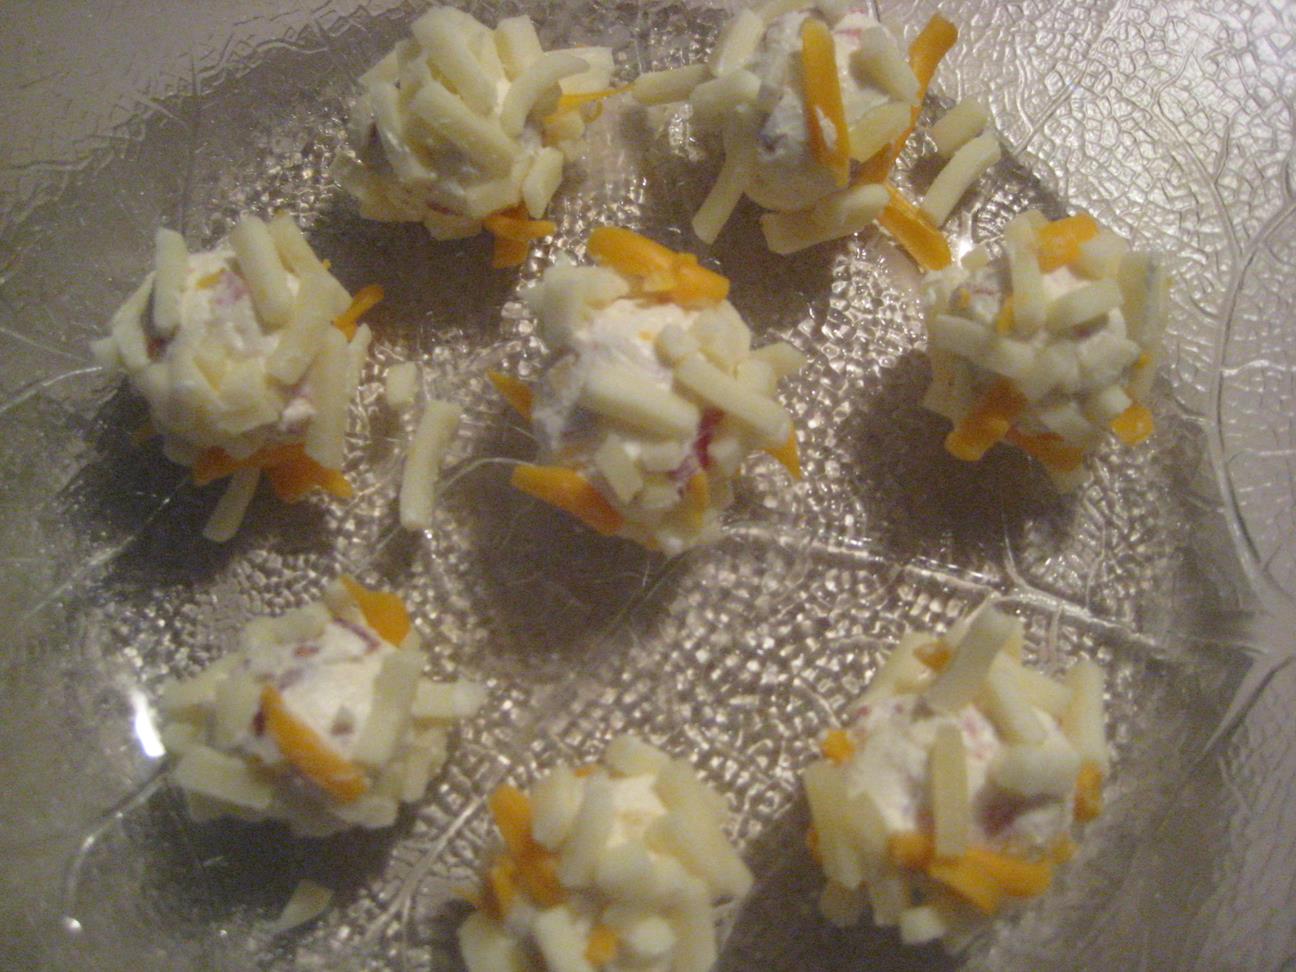
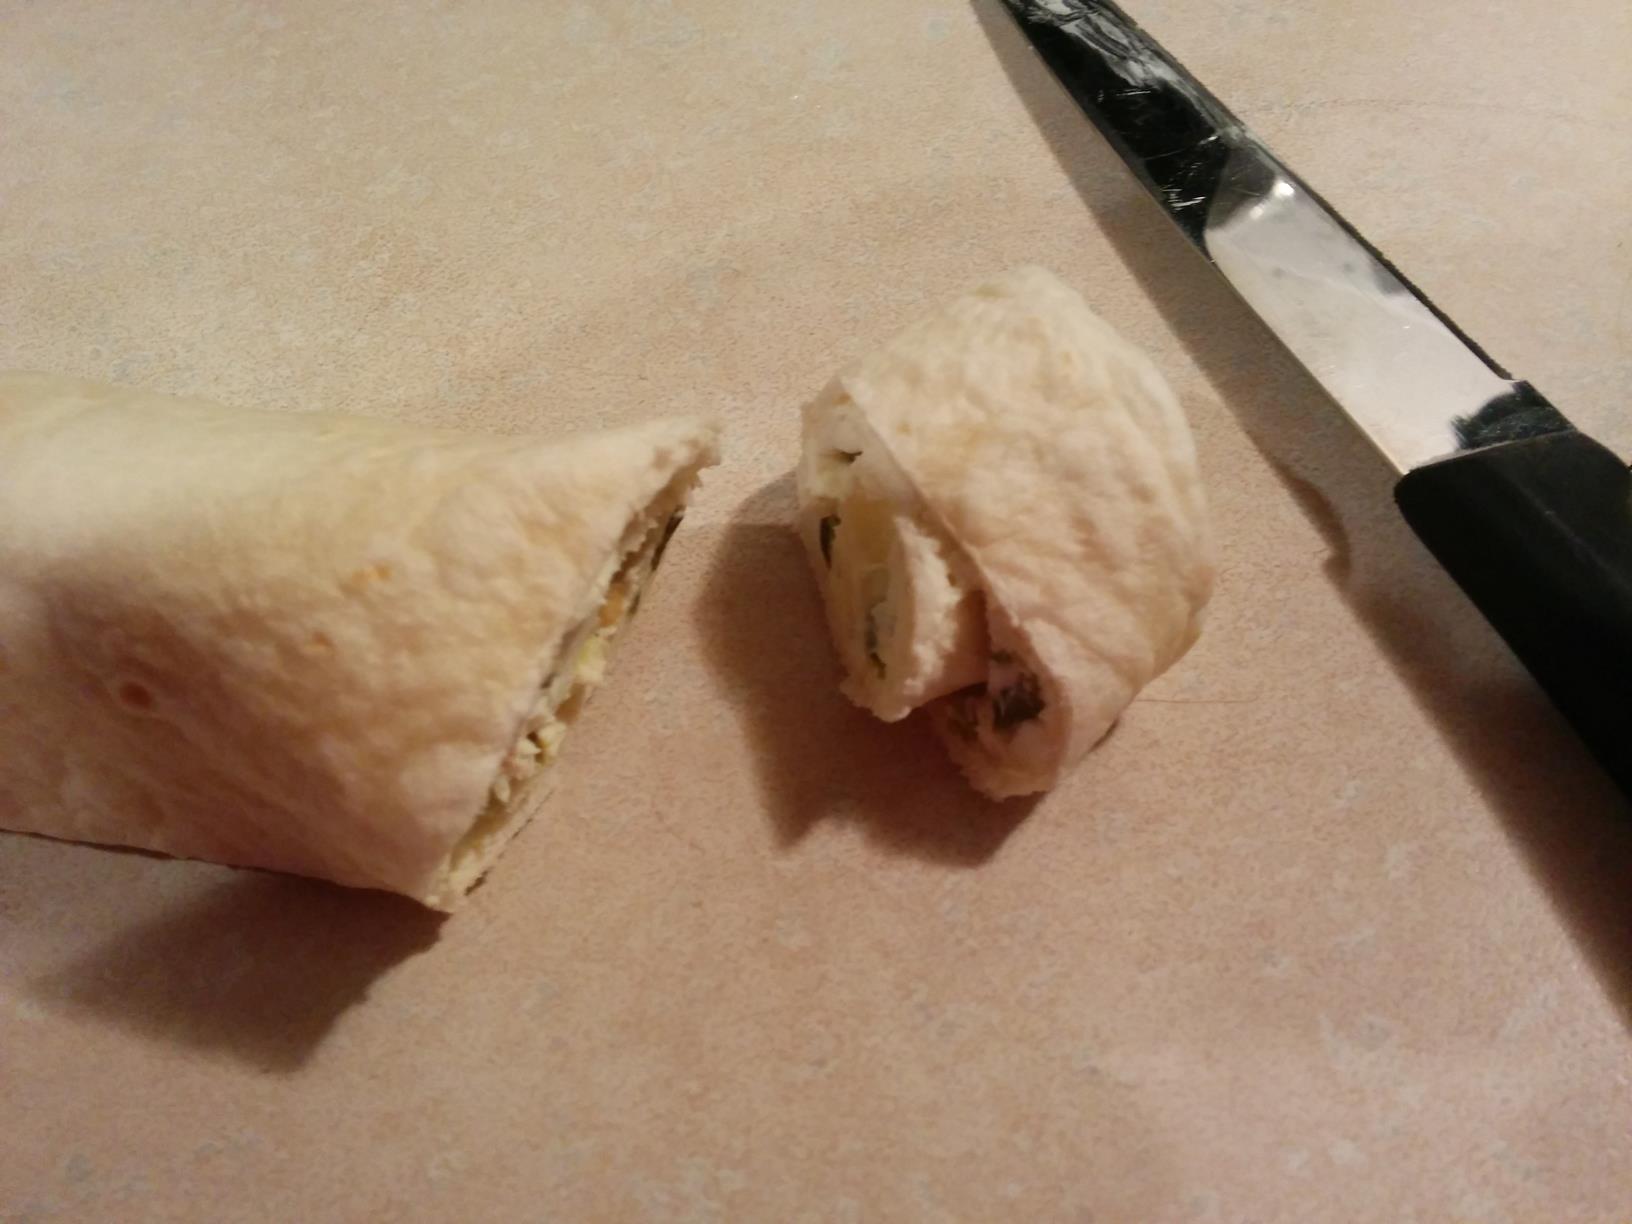
6. Cut up the grape tomatoes into little round thin slices. You should be able to get 4 or 5 thin little round tomato slices from each grape tomato.

Grape tomato slices
7. Now it’s time to set up your Slammin’ Clams assembly line. Put your plate of empty clam shells down, then beside them put the big bowl of macaroni salad, then put your bowl of grape tomato slices, then put the serving plate that you’ll be putting your finished Slammin’ Clams on.
8. Get a spoon.
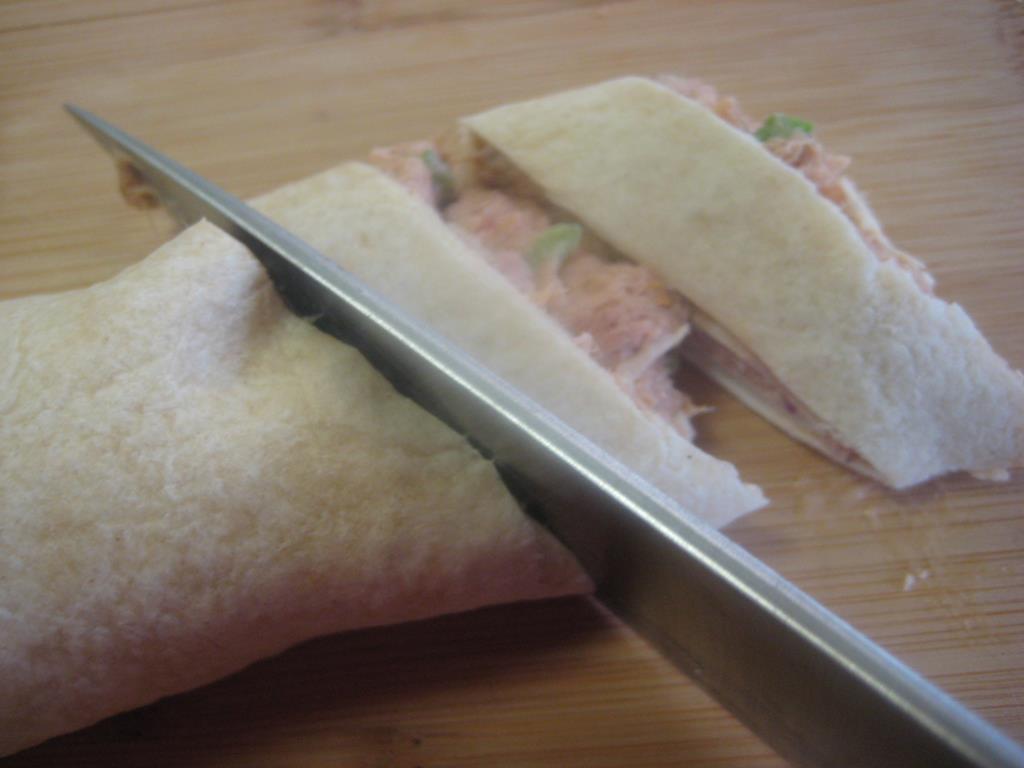
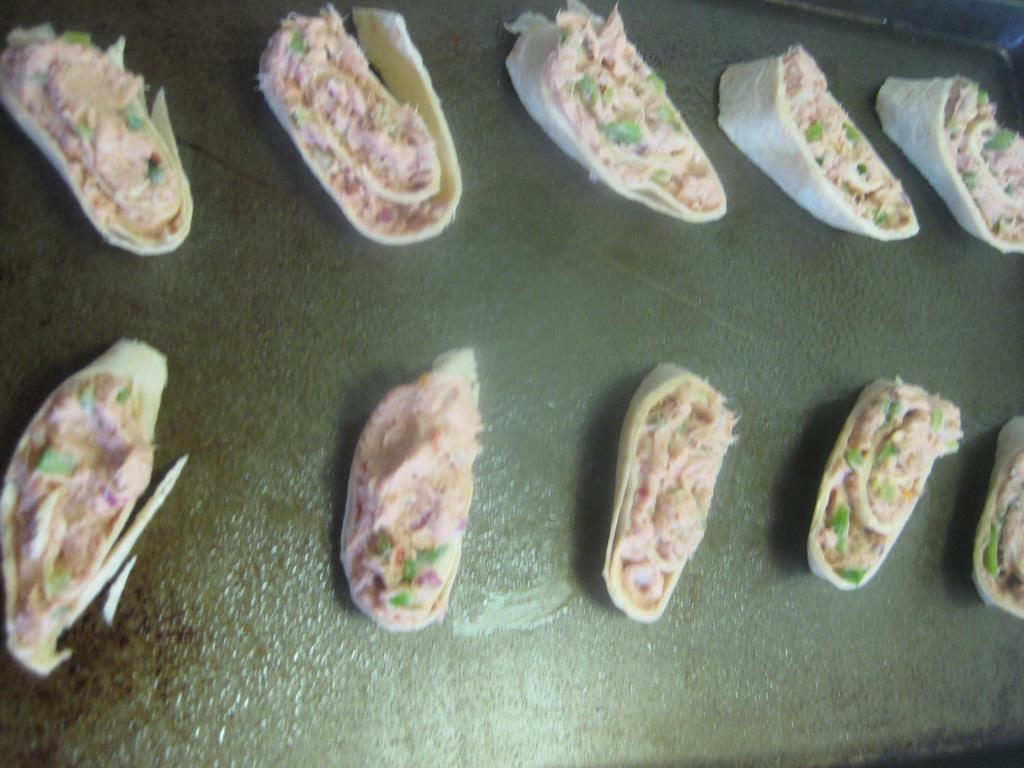
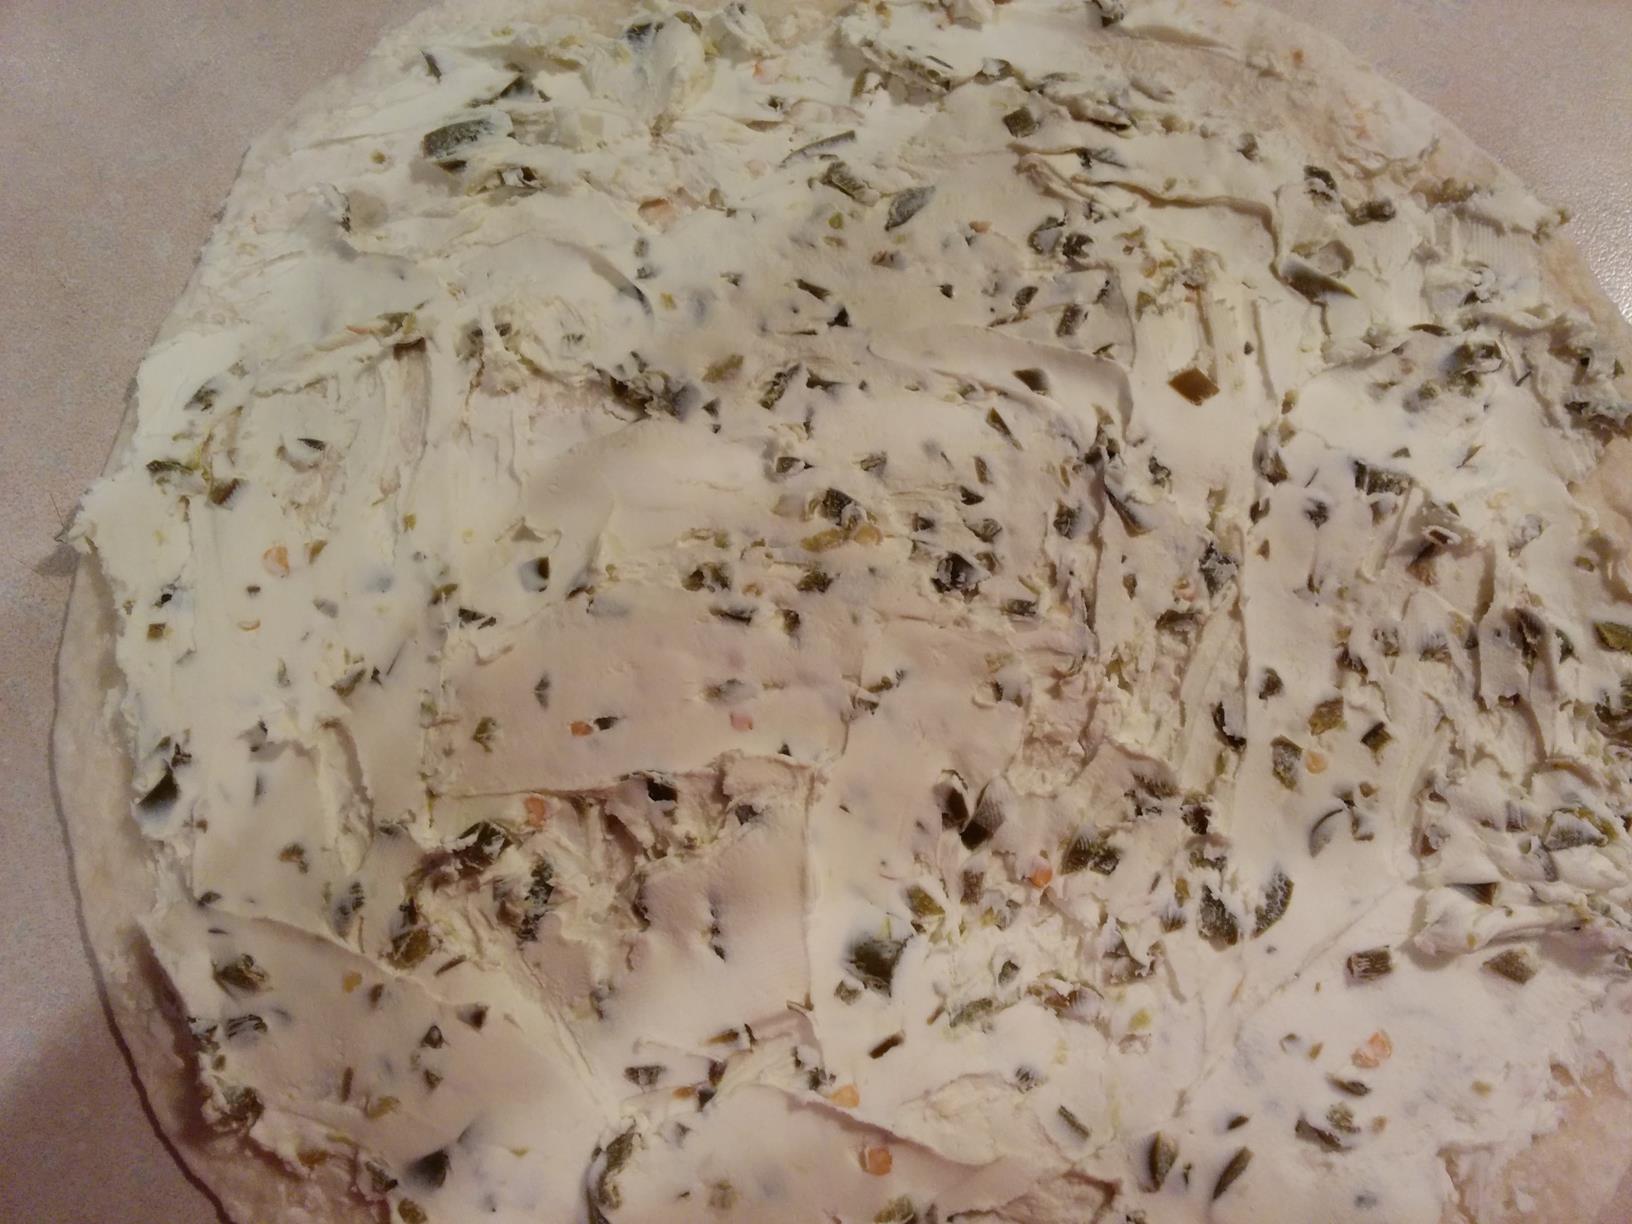
9. Now you want to fill the clamshells with the macaroni salad. Be careful here, you don’t want to rip the shells. Gently open up a clamshell with your fingers. Grab a scoop of macaroni salad with your spoon and carefully spoon it into the shell. You might need to add a little more than one spoonful of macaroni salad, just be careful.

Open the shell up

Carefully spoon the delicious macaroni salad inside

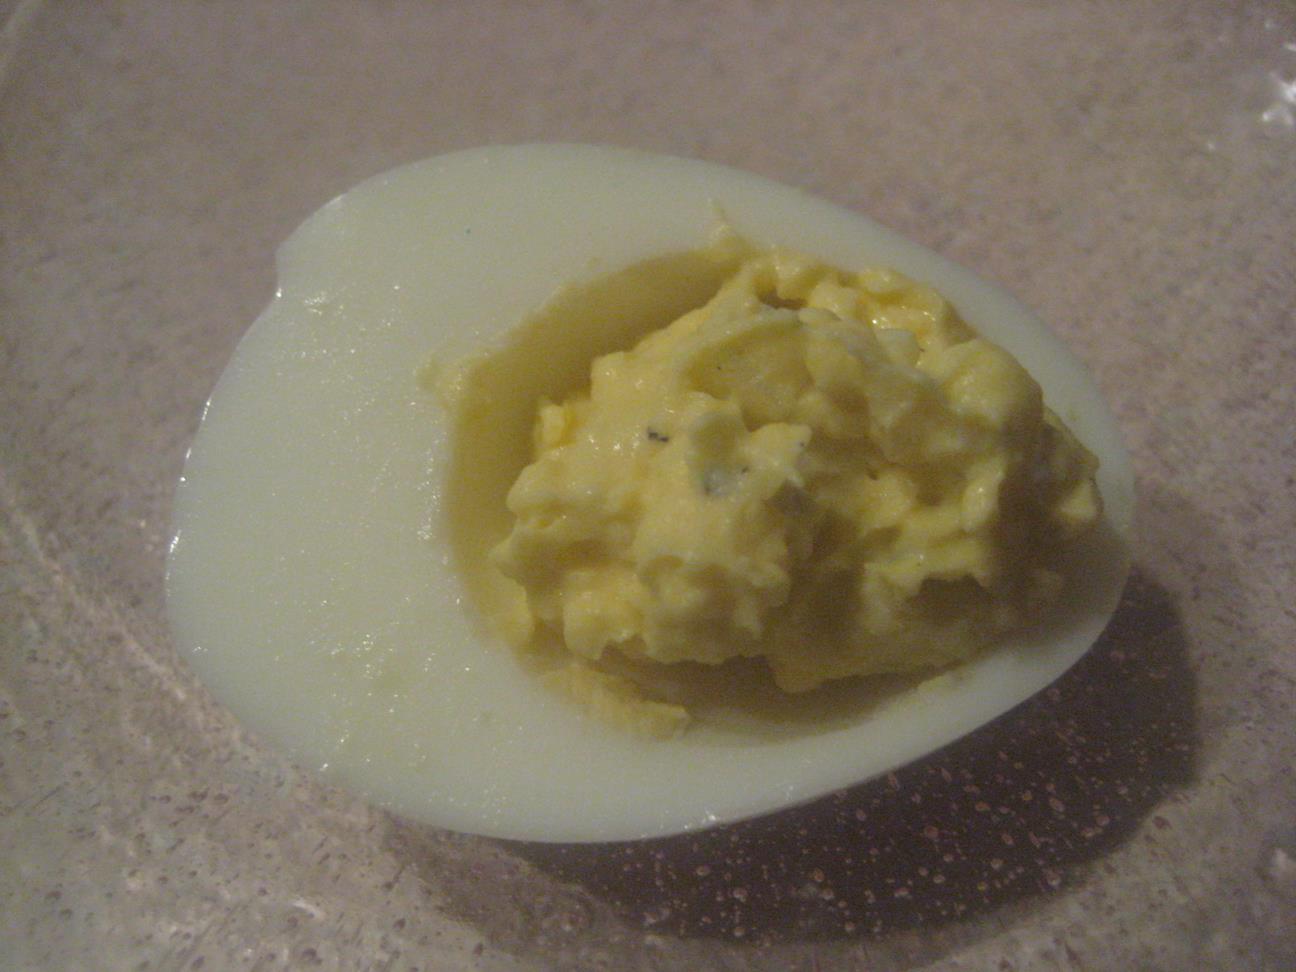
A happily filled clam
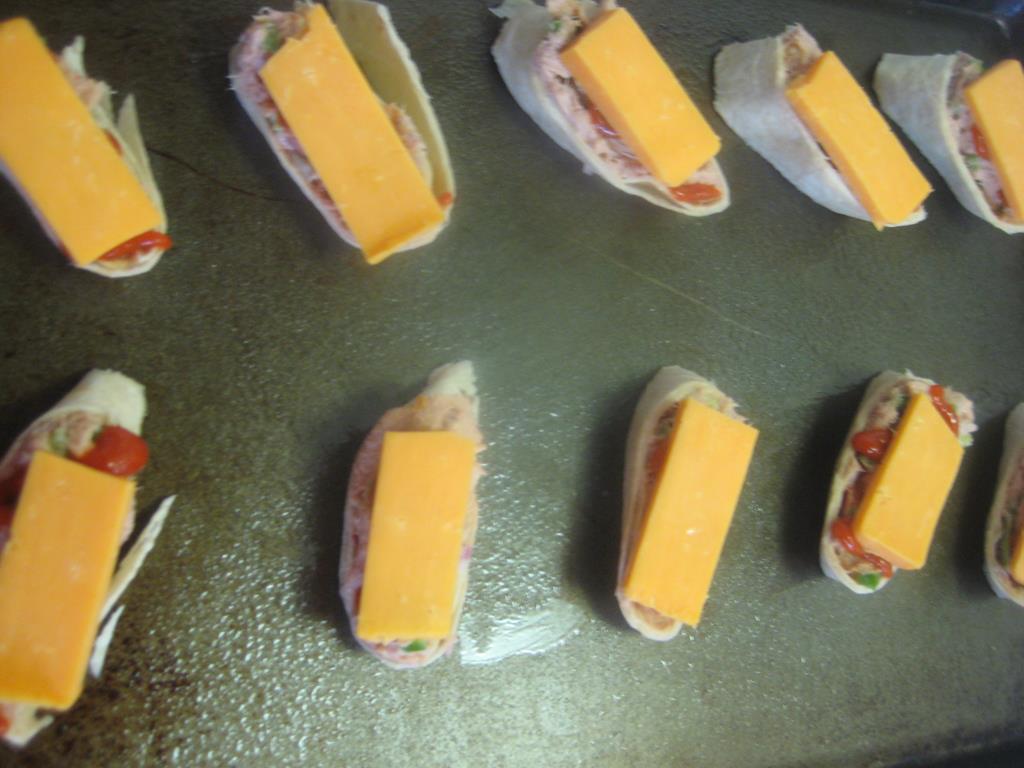
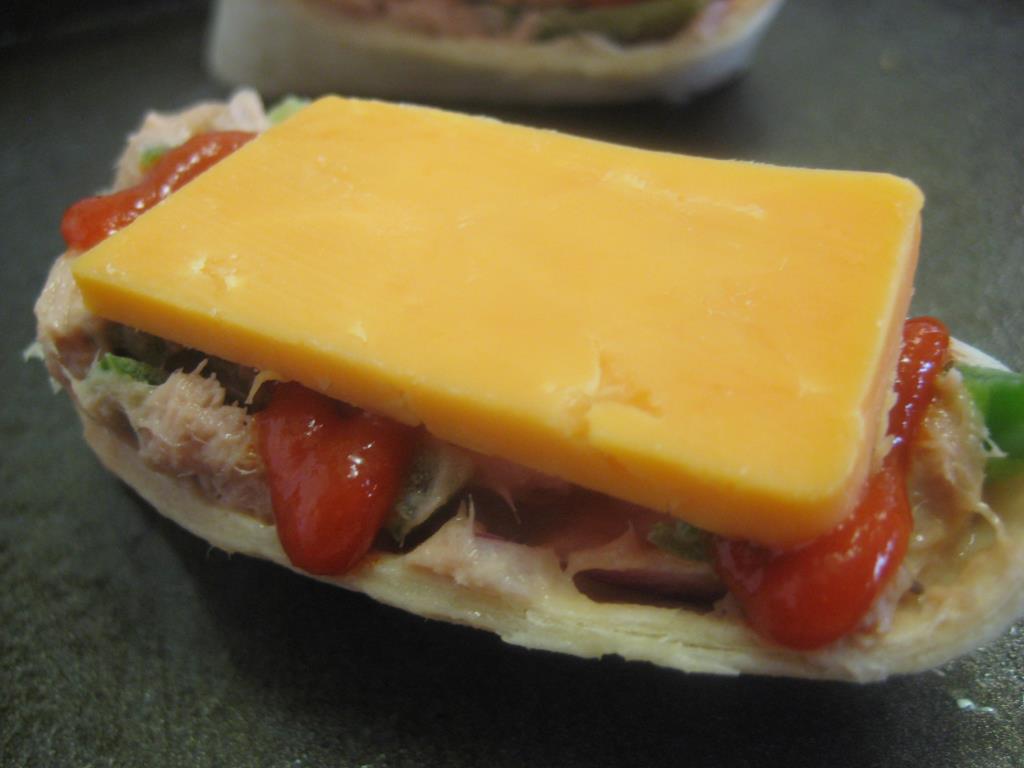
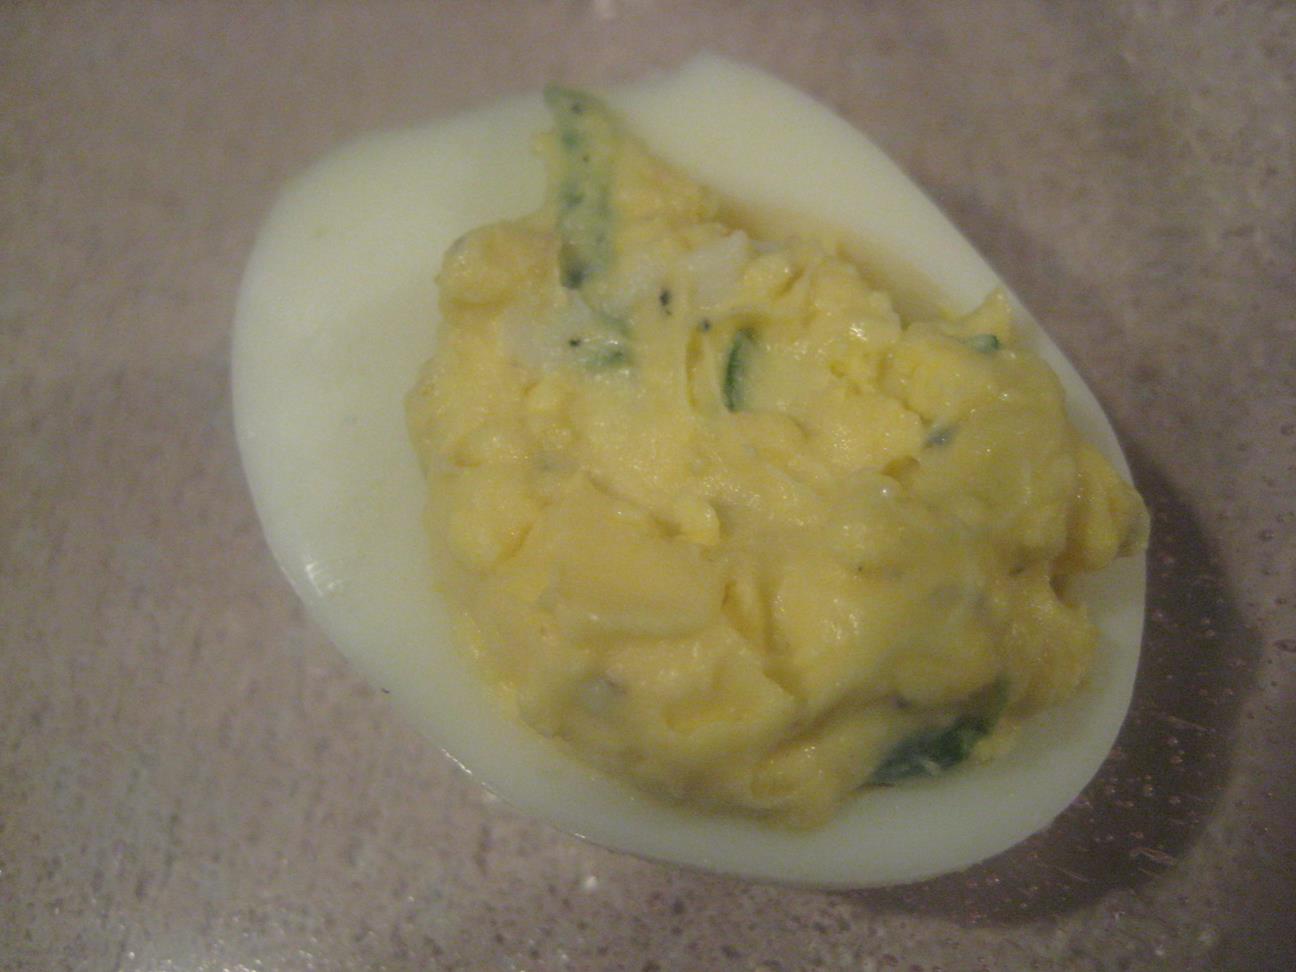
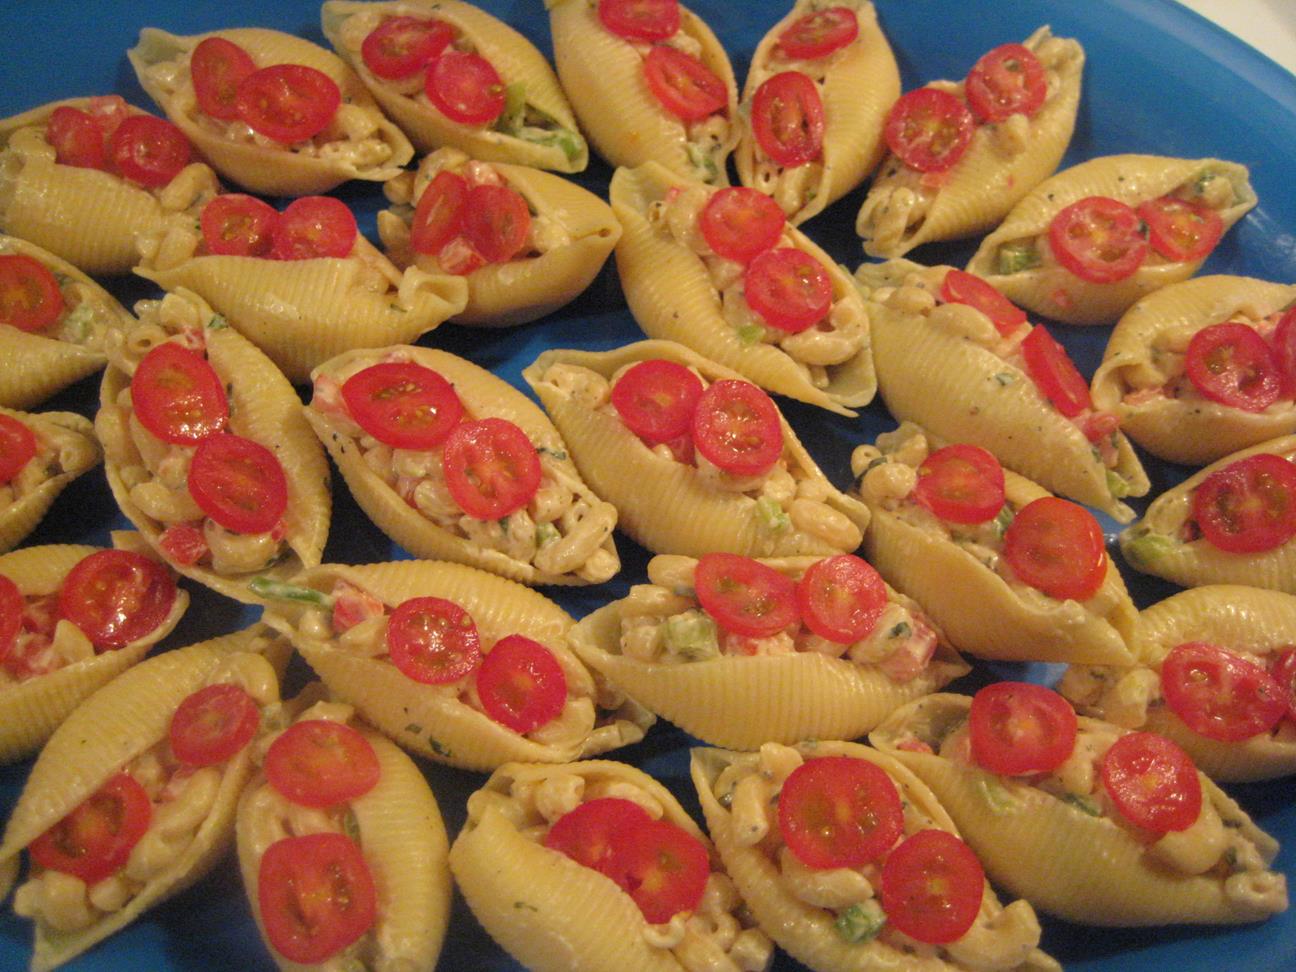
10. Add a couple of grape tomato slices on top of the macaroni as a garnish.

Garnished with tomato slices
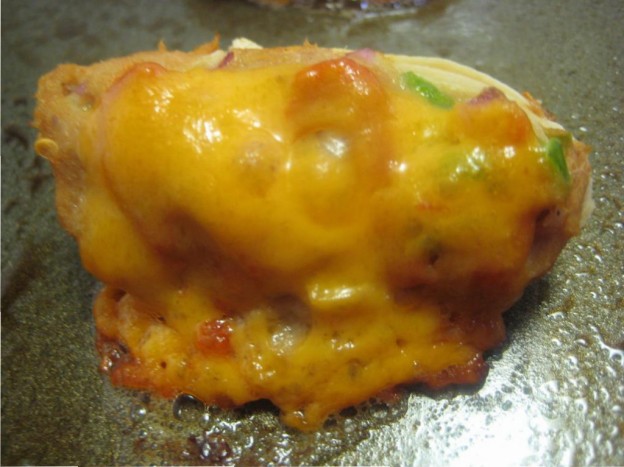
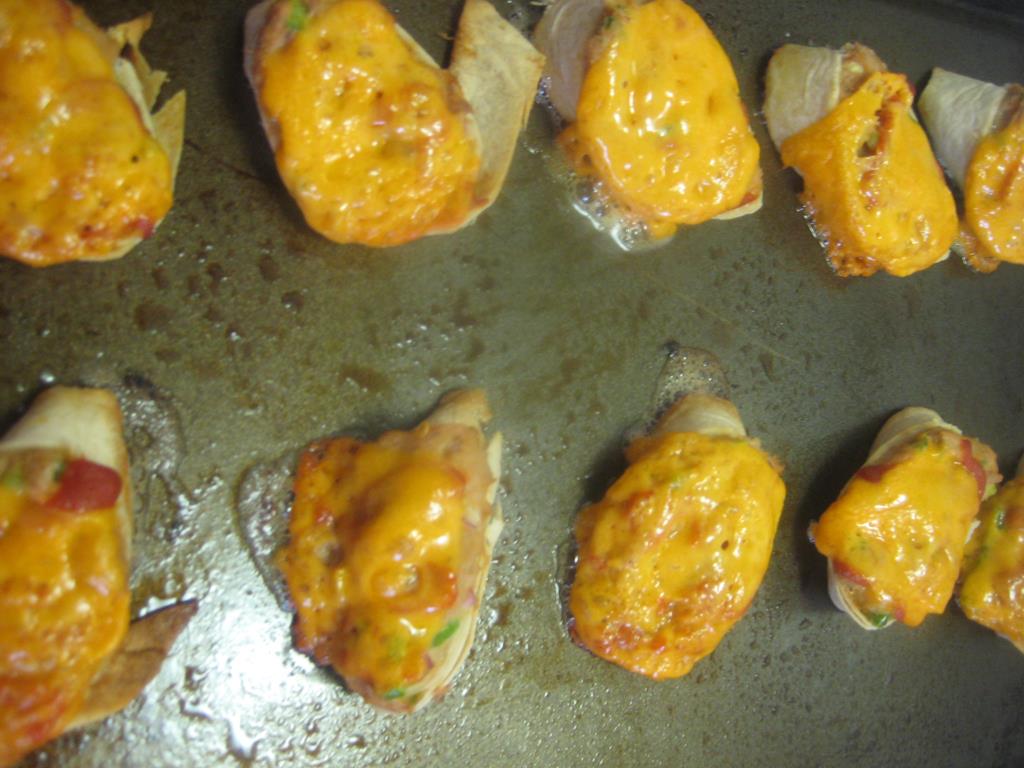
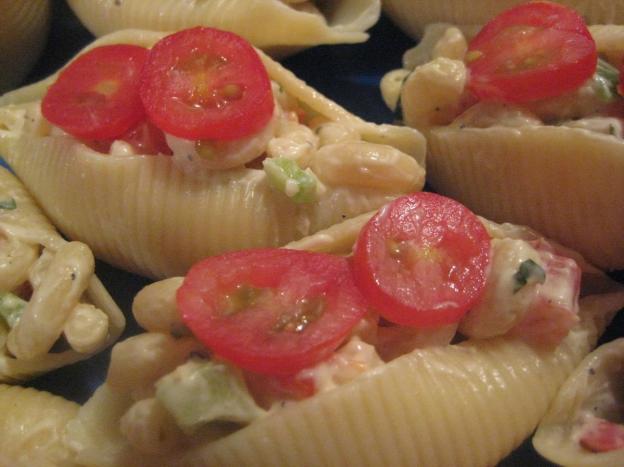
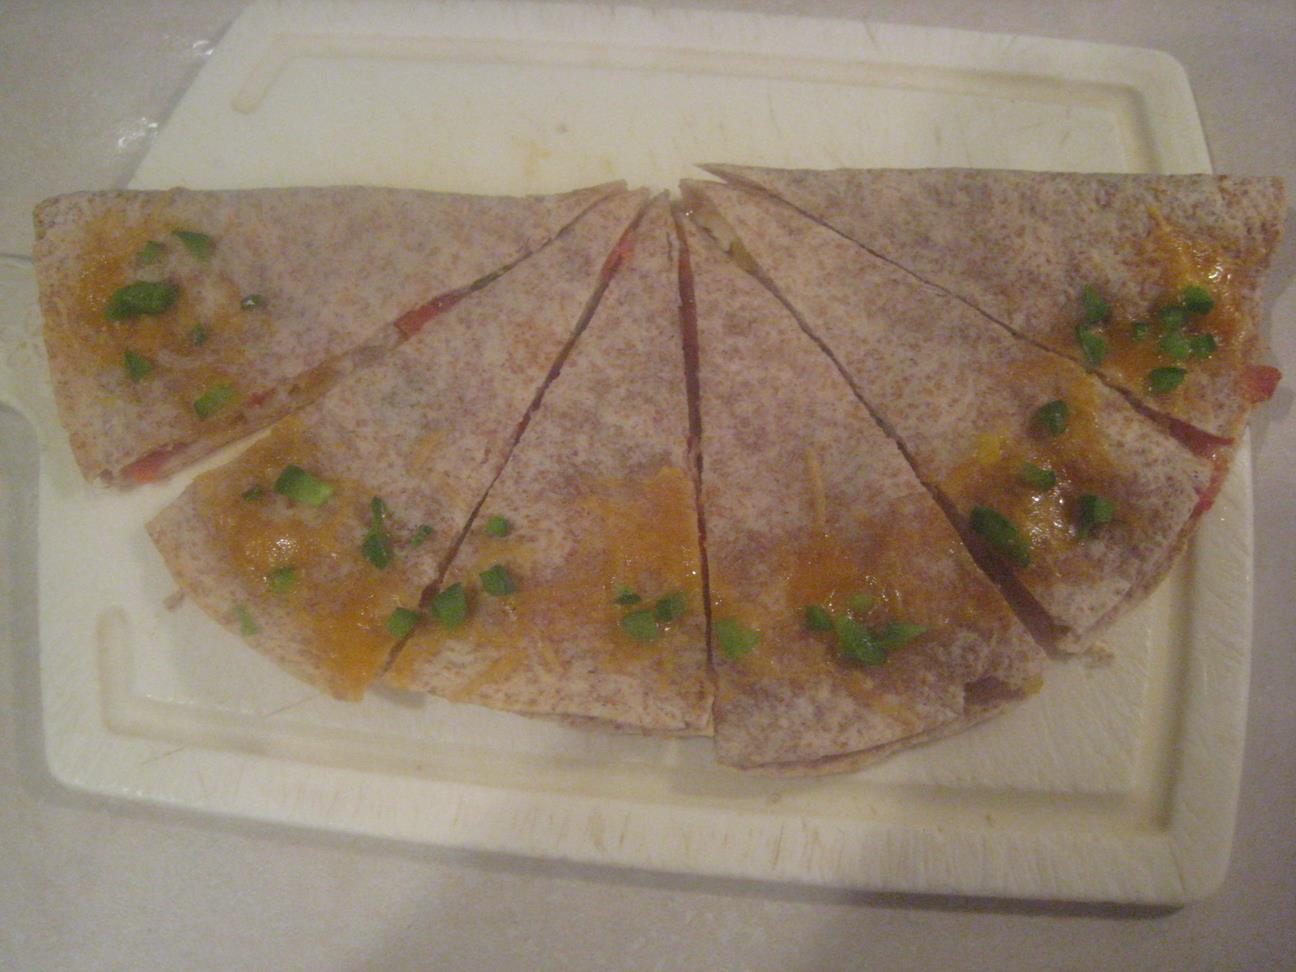
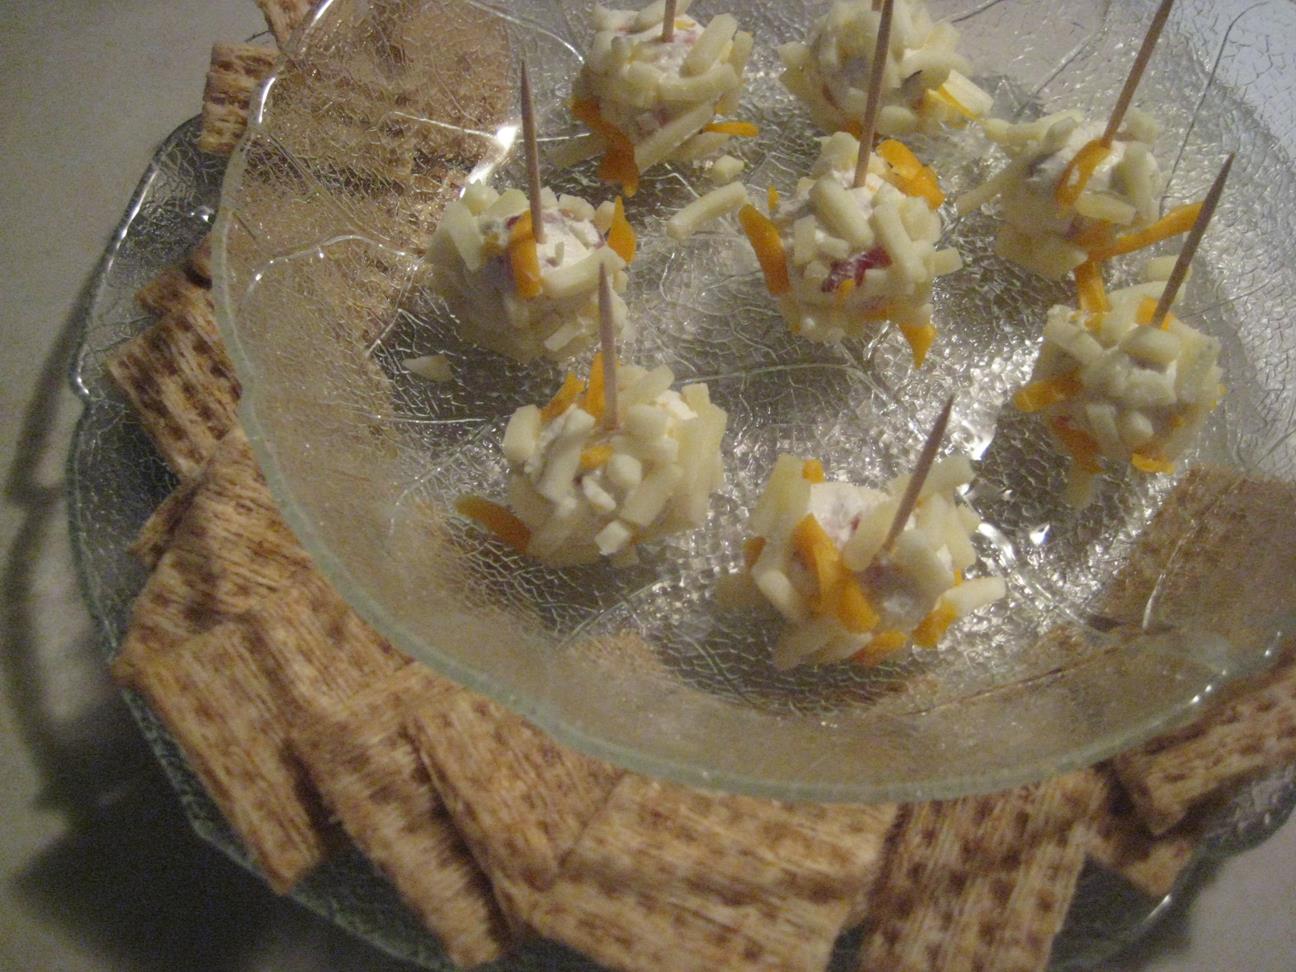
11. Arrange your clams on the serving plate however you like.

A pretty plate of Slammin’ Clams!
You’re done!
…. but wait, there’s more!
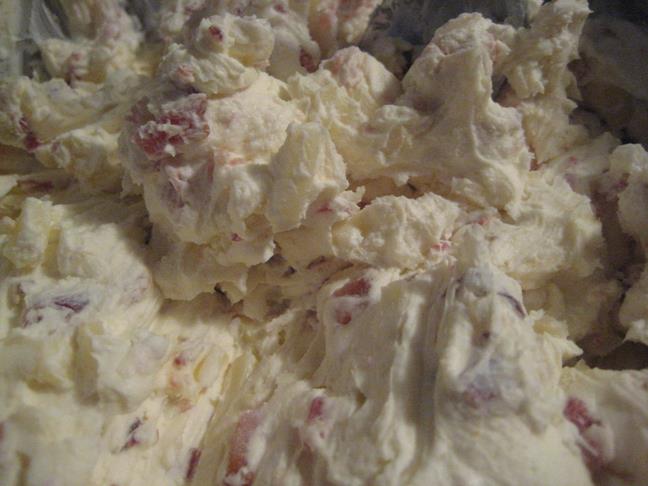
If you cooked the whole package of macaroni, and you made a whole bunch of macaroni salad, you may just have a TON of macaroni salad leftover… AWESOME!!! Add any un-used slices of grape tomato into the leftover macaroni salad, stir, and you’ve got yourself a few meals to keep at home! How awesome is THAT!??!

Leftover macaroni salad for you
Here’s what it costs to make it (approx 30 Slammin’ Clams, plus about 4 serving-sizes of leftover macaroni salad for you!):
- Giant shell pasta: $2.50
- Elbow macaroni: $1.50
- Mayonnaise: $2.00
- Basil: $1.50
- Black pepper: $0.08
- Green pepper: $0.60
- Red pepper: $0.75
- Roma tomatoes: $1.00
- Grape tomatoes: $2.00
Total cost to make: $11.93
So pretty much, you get 4 servings of amazing macaroni salad that you can eat at home or take in your lunches for work for just $2.98 each – and your 30 amazing Slammin’ Clams are free!
This is a FANTASTIC price to make a crowd-pleasing potluck meal and to score a few meals of your own while you’re at it.
So if you’ve got the time, this is a great recipe to make!
Looking for other pretty potluck items? Try one of these: